bigone5500
Members
-
Joined
-
Last visited
Everything posted by bigone5500
-
So we actually had some great weather today. I decided to go ahead and build a new bracket for the throttle control. The awful looking behemoth of a bracket had to go. I have not finalized the material but have built one from 3/32" aluminum sheet. If the sheet proves to be too flimsy, which I don't think it will, then I will use some 1/8" stainless plate. I can't upload photos from my phone as the file size limit is so small but will link to my google photos if it will work. You can see in the first photo that they screwed the bracket into the gunwale. I absolutely cannot stand that. I cringe when I see it. I don't know how the original control was mounted so I improvised with the aluminum sheet by creating mounting surfaces on the lower lip and on the upper horizontal part. The control will mount to the vertical surface. FYI: From what I can gather, this is a mid '90s model 3000 series Quicksilver control for Mercury engines. It's connected to a force 40hp. https://photos.app.goo.gl/rDPd8FBEHq8zNkAC8
-
Thanks for this post. May I ask what oz. carpet you used? Also, what thickness of wood will I need?
-
Anyone ever use this stuff? Is it comparable to 3M? http://www.starbrite.com/item/8200-marine-polyurethaine-sealant-adhesiv
-
Thanks for the replies. I think as a preliminary measure, I'll cut a slit in the existing carpet and peel it back to see what is underneath. I know the hatches have some wood there but the decking seems to be aluminum sheet. I'm pretty sure the lower floor is aluminum. I really am excited to plan this out as I want to re-route the wiring into conduits. I will use 1/2" pvc for the conduit and/or up to 3/4" in places. The main part I want to use conduit is on the driver side which has a lot of foam in there making it almost impossible to pull a wire. It took me an hour to run a new set of 10ga wires from the battery to the console the other day (had to install a fuse block). As for the carpet thickness, I will have to guesstimate that the original was about 1/8 to 3/16 thick so probably about 16oz.
-
I have been pondering doing a re-carpet on my '87 bass tracker tournament tx-17. The carpet is in bad shape and really needs to be done. I'm not one that's afraid of tackling a job such as this but I want to be sure I know what I'm up against so-as not to fall into a snake pit. I have no idea what's below the carpet on the front and rear decks. I assume it's aluminum sheet as is on the lower floor. I have knocked on it and it sounds metal-ish but it could be wood on a sturdy backing, I don't know. I would like to know a few things if anyone has a second. What is the substrate of the carpet? How do I determine what 'oz.' carpet to purchase? How do I determine the amount needed? What is the best 'affordable' adhesive to use? Stainless screws or stainless rivets? At this point, I'm in the pondering stages of this and if I do indeed choose to tackle <--- pun intended... this job, then it will be when the temps are around 60F lows. Thanks for any replies and I look forward to them!
-
Yeah that's the one everybody I talk to says to use. I guess the larger one is for the really big fish??? Who knows.
-
So I picked up a few torpedos over the weekend and got to wondering. Which one has produced the best results for you? I have a few tinys and bought a teensy and 3 magnums. I have been told the frog ones are best. I haven't had a chance to fish them yet and hope to be able to snag a few when I do.
-
Thanks for the replies. I'd like to go whenever I want but the cold just is too much for my hands to function. Come on Spring!!!
-
Is there usually a certain temperature that you guys generally do not fish? Such as when it gets to around 40F, 35F? Just curious.
-
No luck on the bracket, if it actually had one. I think the control mounted to the side panel on the boat. There is a wall with about 1 1/2" clearance and has some foam inside. This wall is where I think the original was attached. I have ample wire and control cables that I think I can simply discard the bracket and mount it that way. I hit my hip on the bracket the other day and it almost made me curse in 3 languages...all at once.
-
So I decided to simply take the pot apart and measure the resistance that way. I comes out to 500K ohms. If this fails then I will attempt to DIY a timer from an arduino and rotary selector switch.
-
I'm replacing the timer controls in my boat and have made a new plate to mount the new components to. I have a new toggle switch and plan to re-use the timer module assuming it is good and will replace the potentiometer. The problem is, I don't know what the value is for the original pot. It's rusted up and I can't ohm it out to see. Does anyone know what the value is supposed to be?
-
I bought a 1987 Bass Tracker Tournament TX-17 and want to know where to find parts for it. In specific, the plate that the throttle control mounts to. The place I got it from had installed a different engine than it originally had for some reason. The plate that it has now is awful. It's attached to the inside and top of the gunwale. I have looked the internet over and can't find anything other than parts for new boats.
-
This is awesome! I decided to make an instructable out of this. In less than 24 hours, it was featured and I got a 3 month premium membership free. http://www.instructables.com/id/DIY-Fishing-Worm-Binder-Pages/ HA! Whodathunkit???
-
So far what I have found is I need to be sure that the plastic seals just above the paper. What is happening is the lube on the worms is getting into the paper and making it come apart. This is what they call R&D...

-
Thanks guys!
-
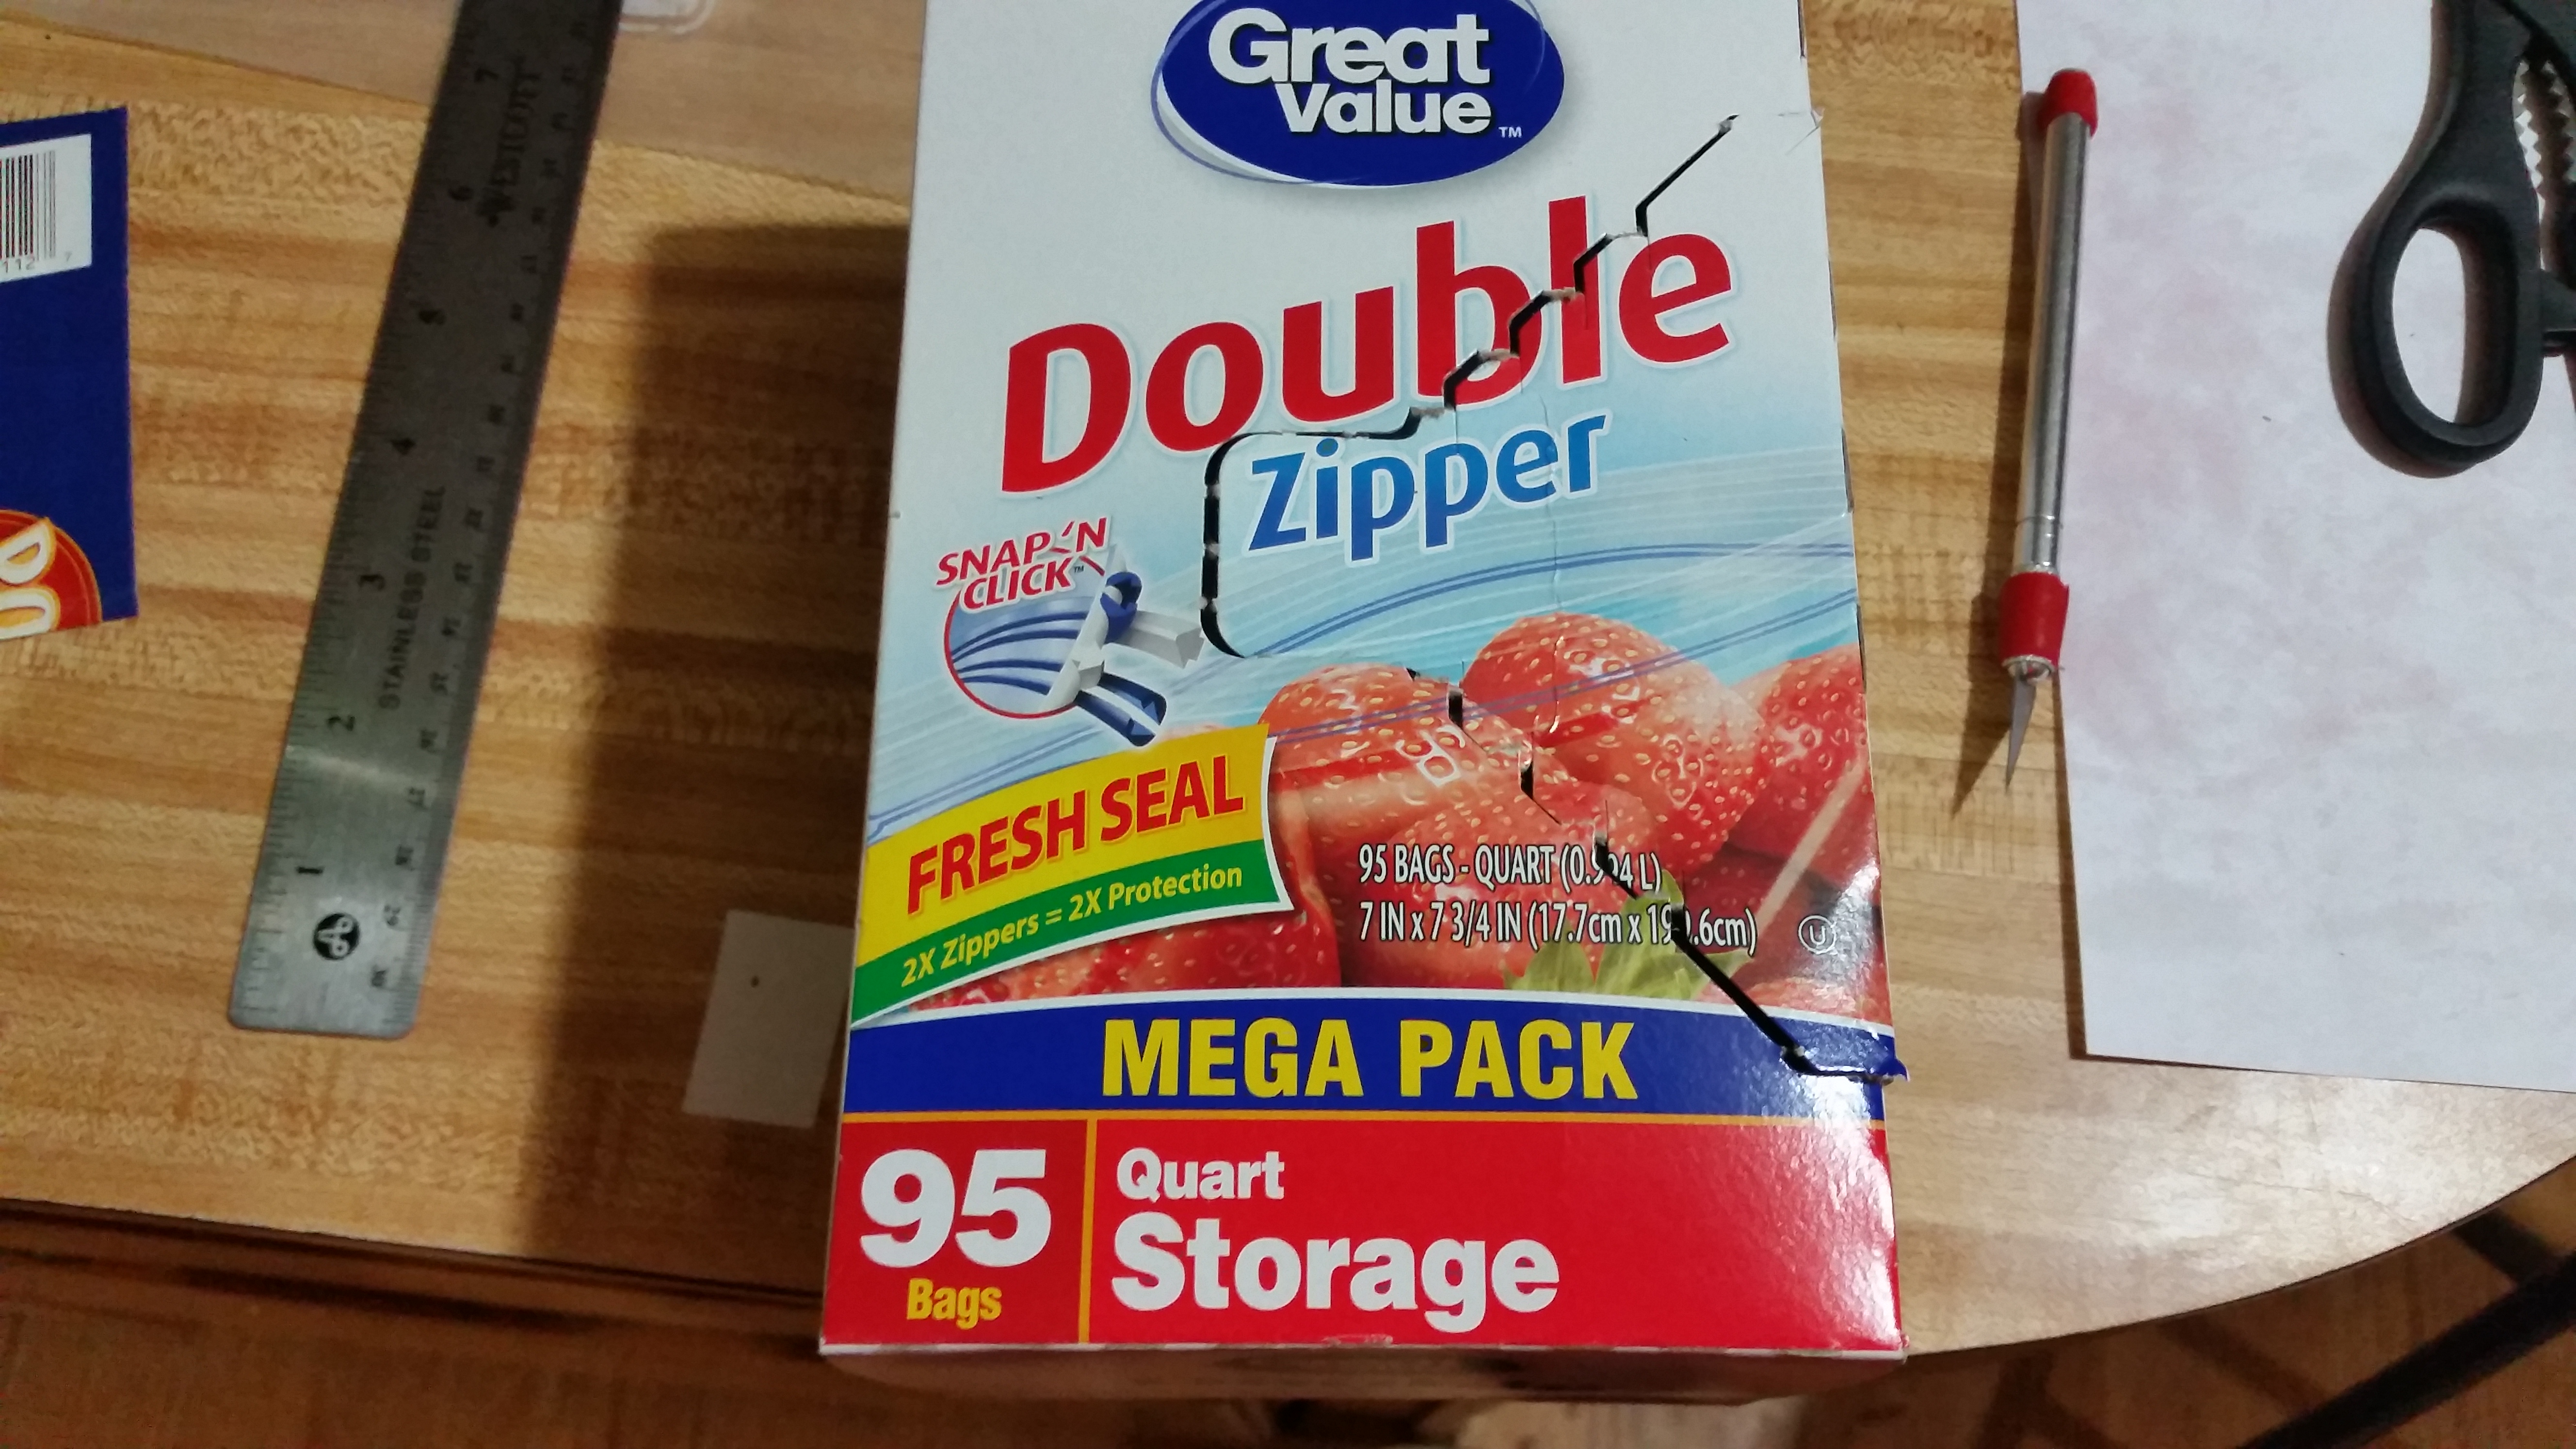
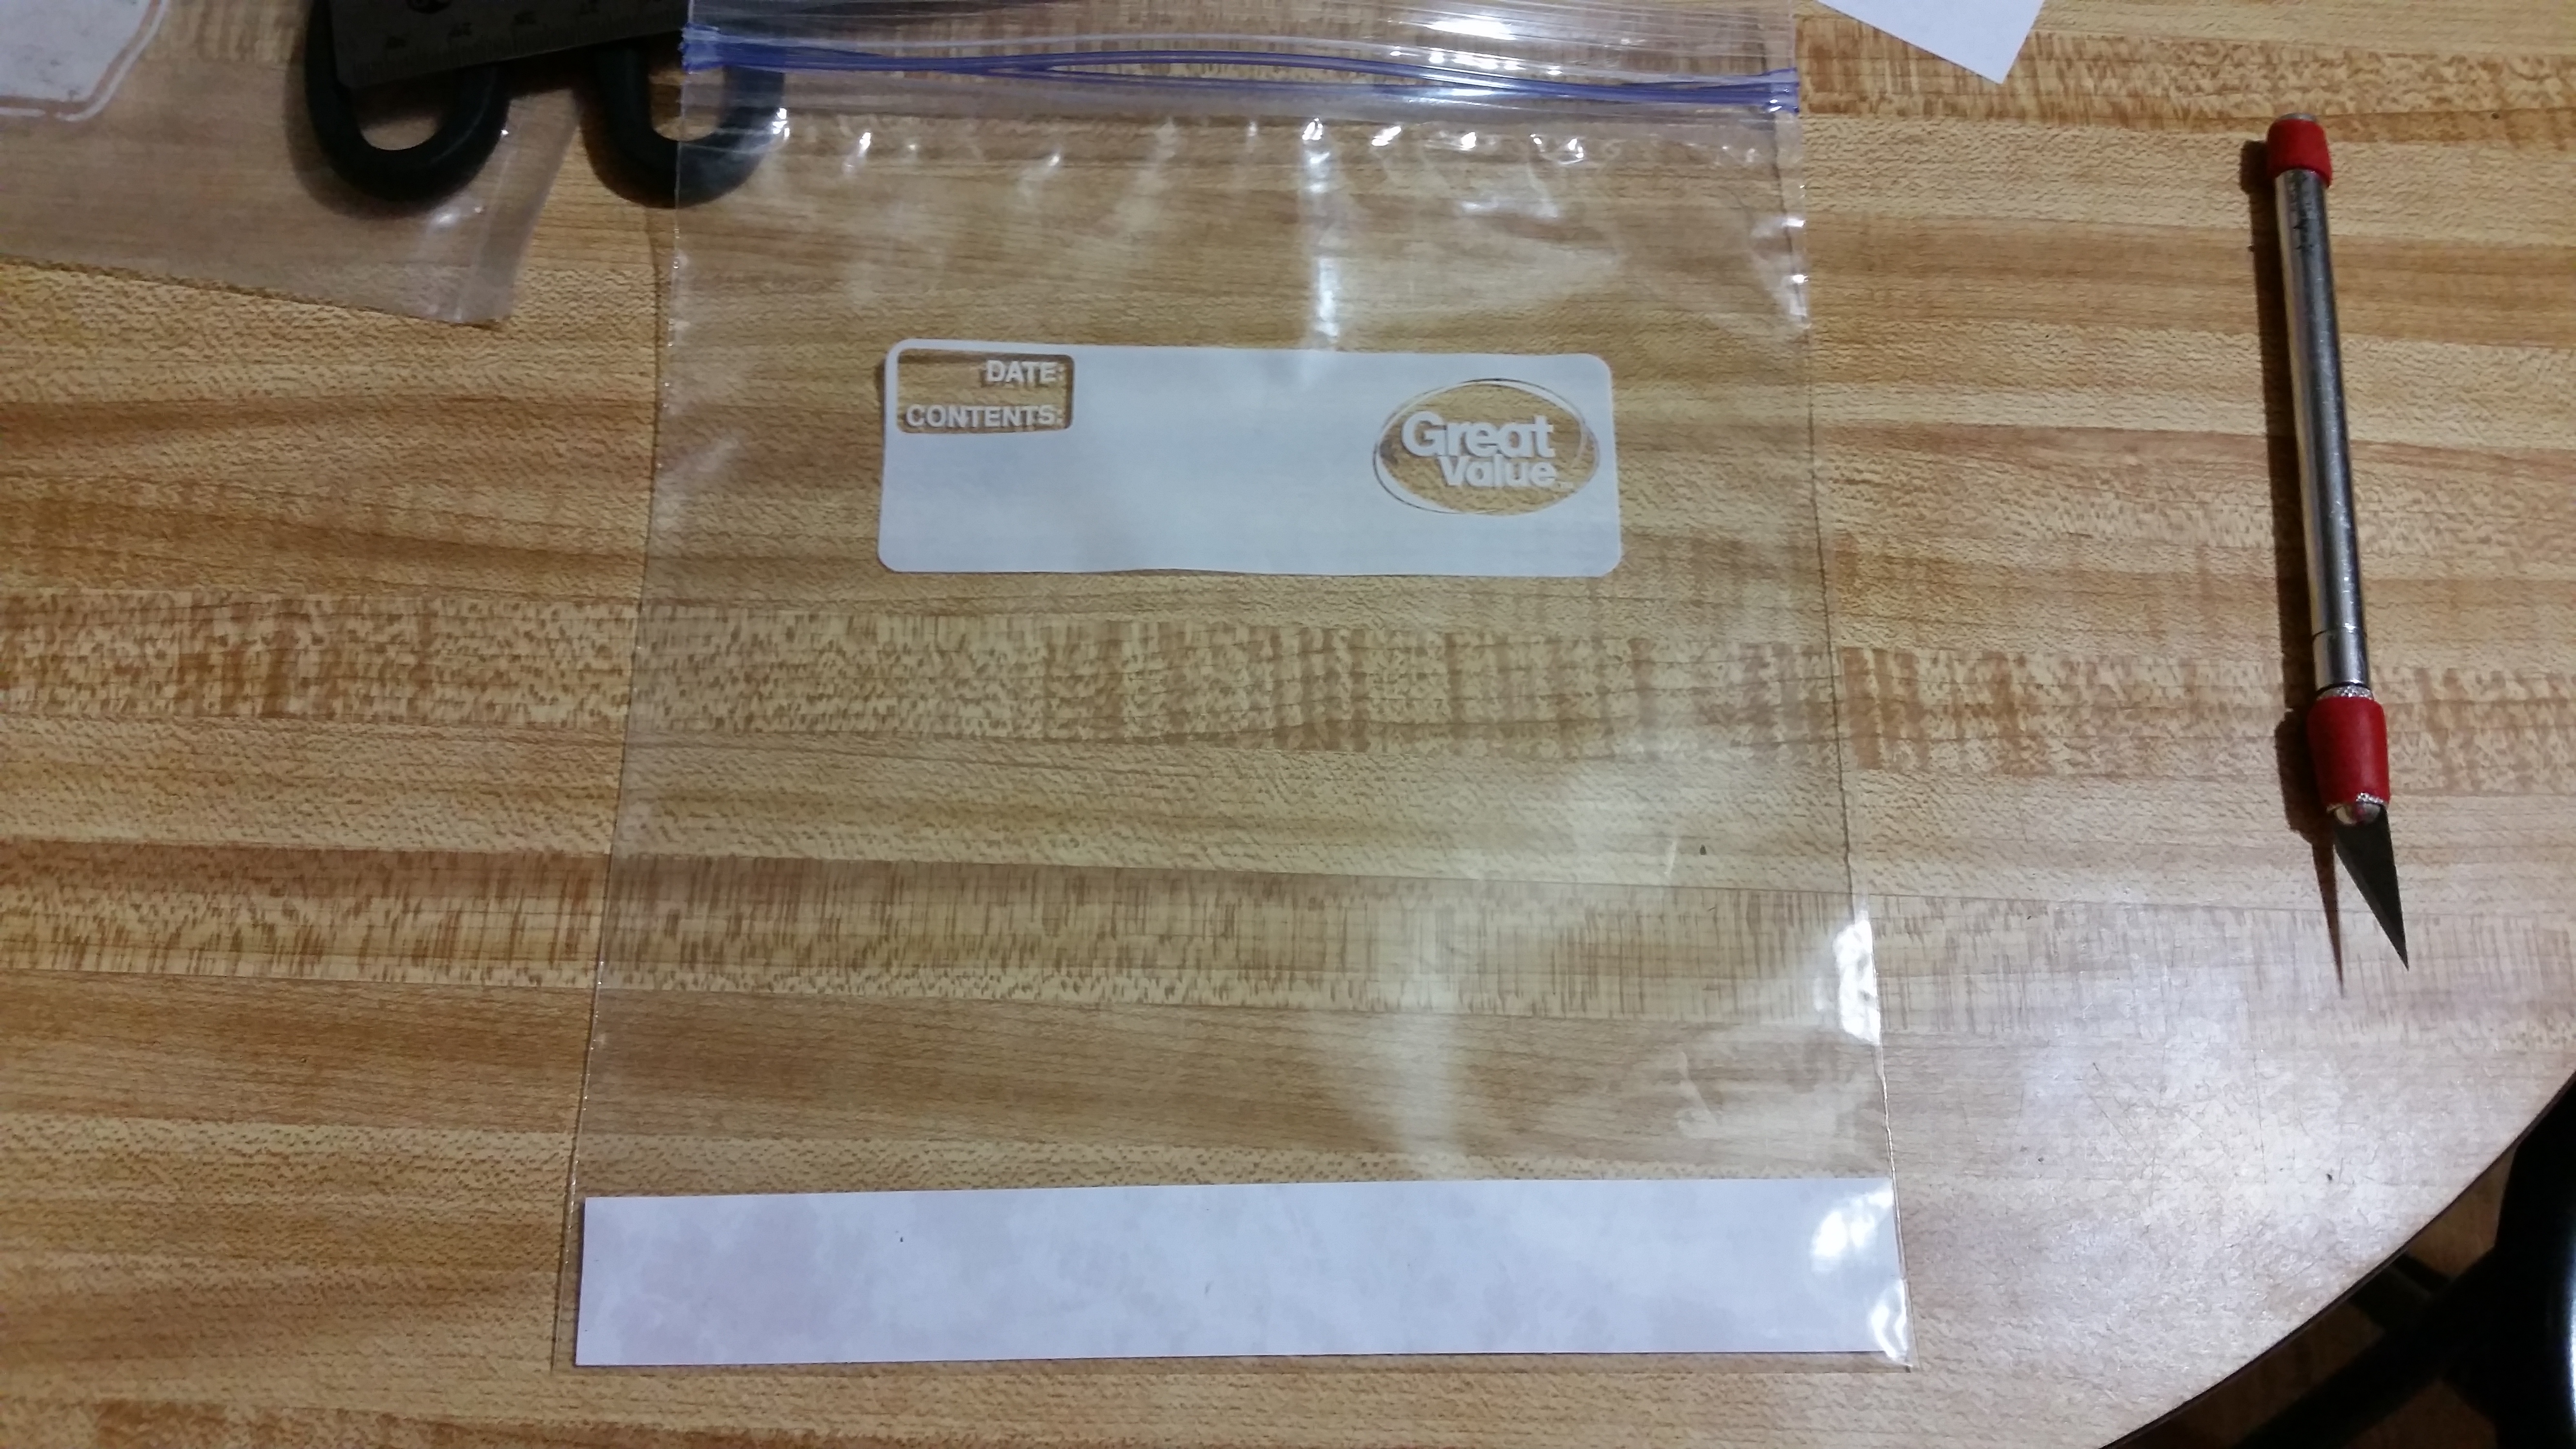
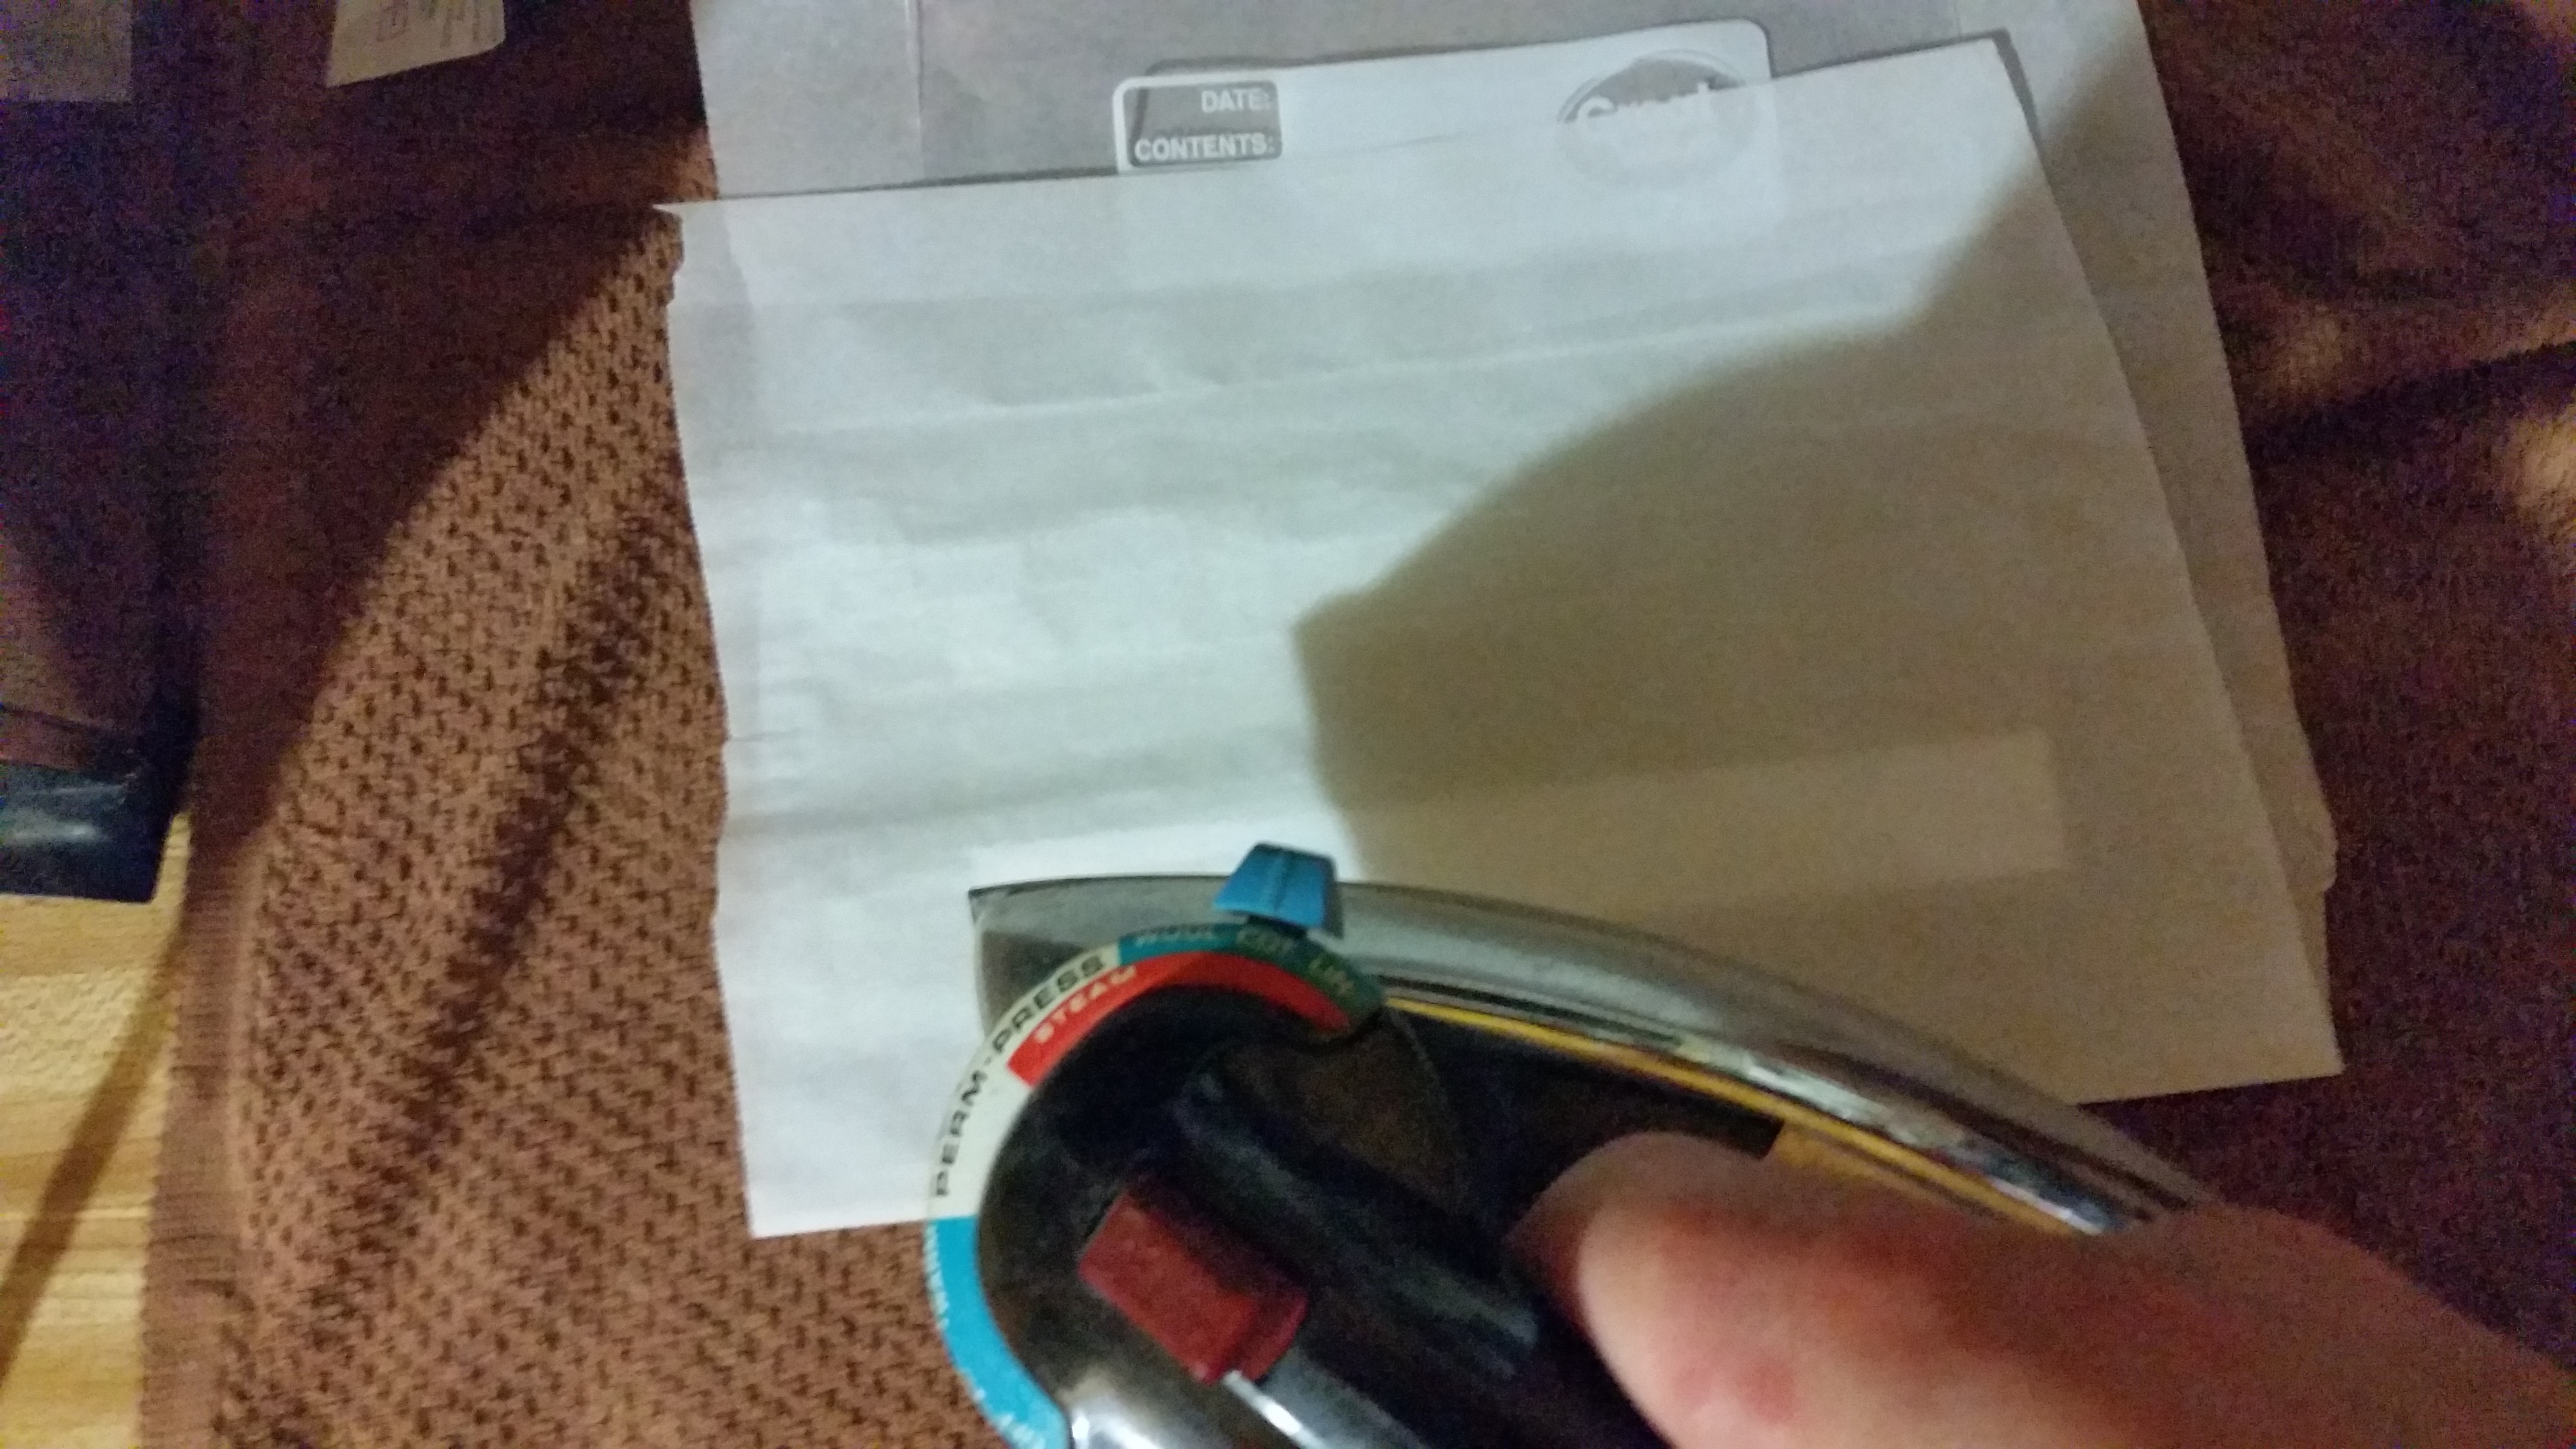
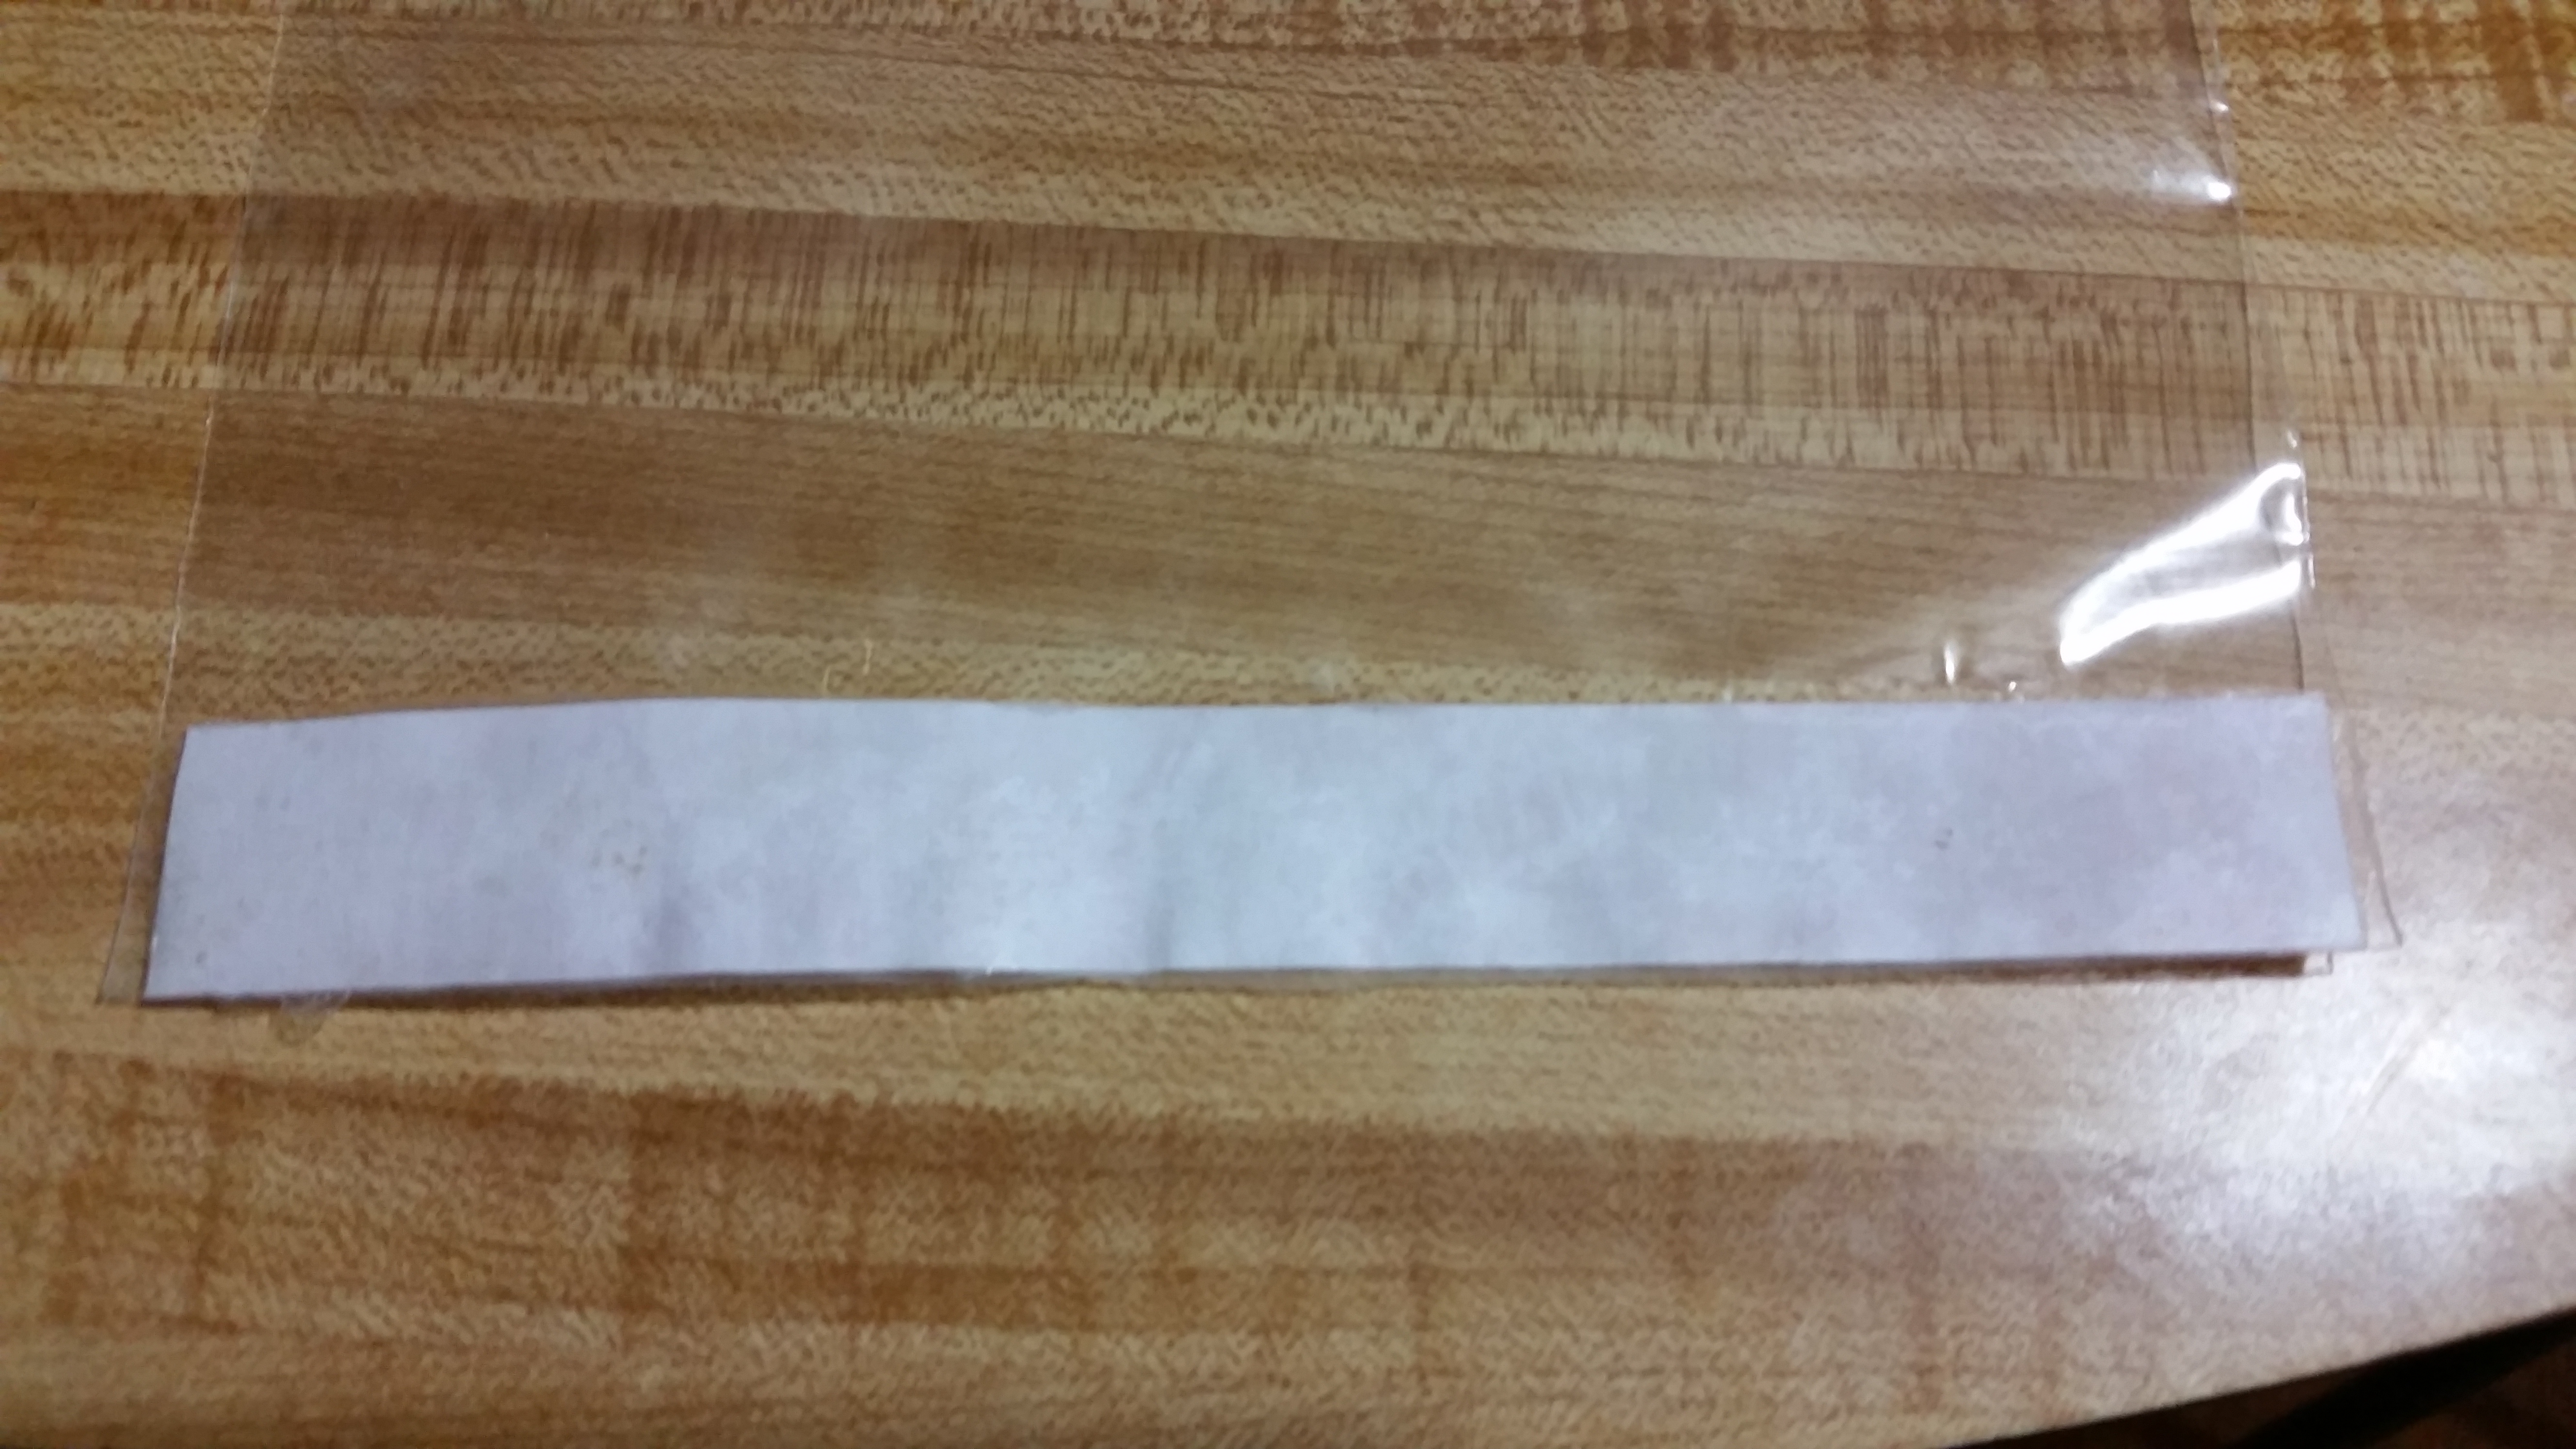
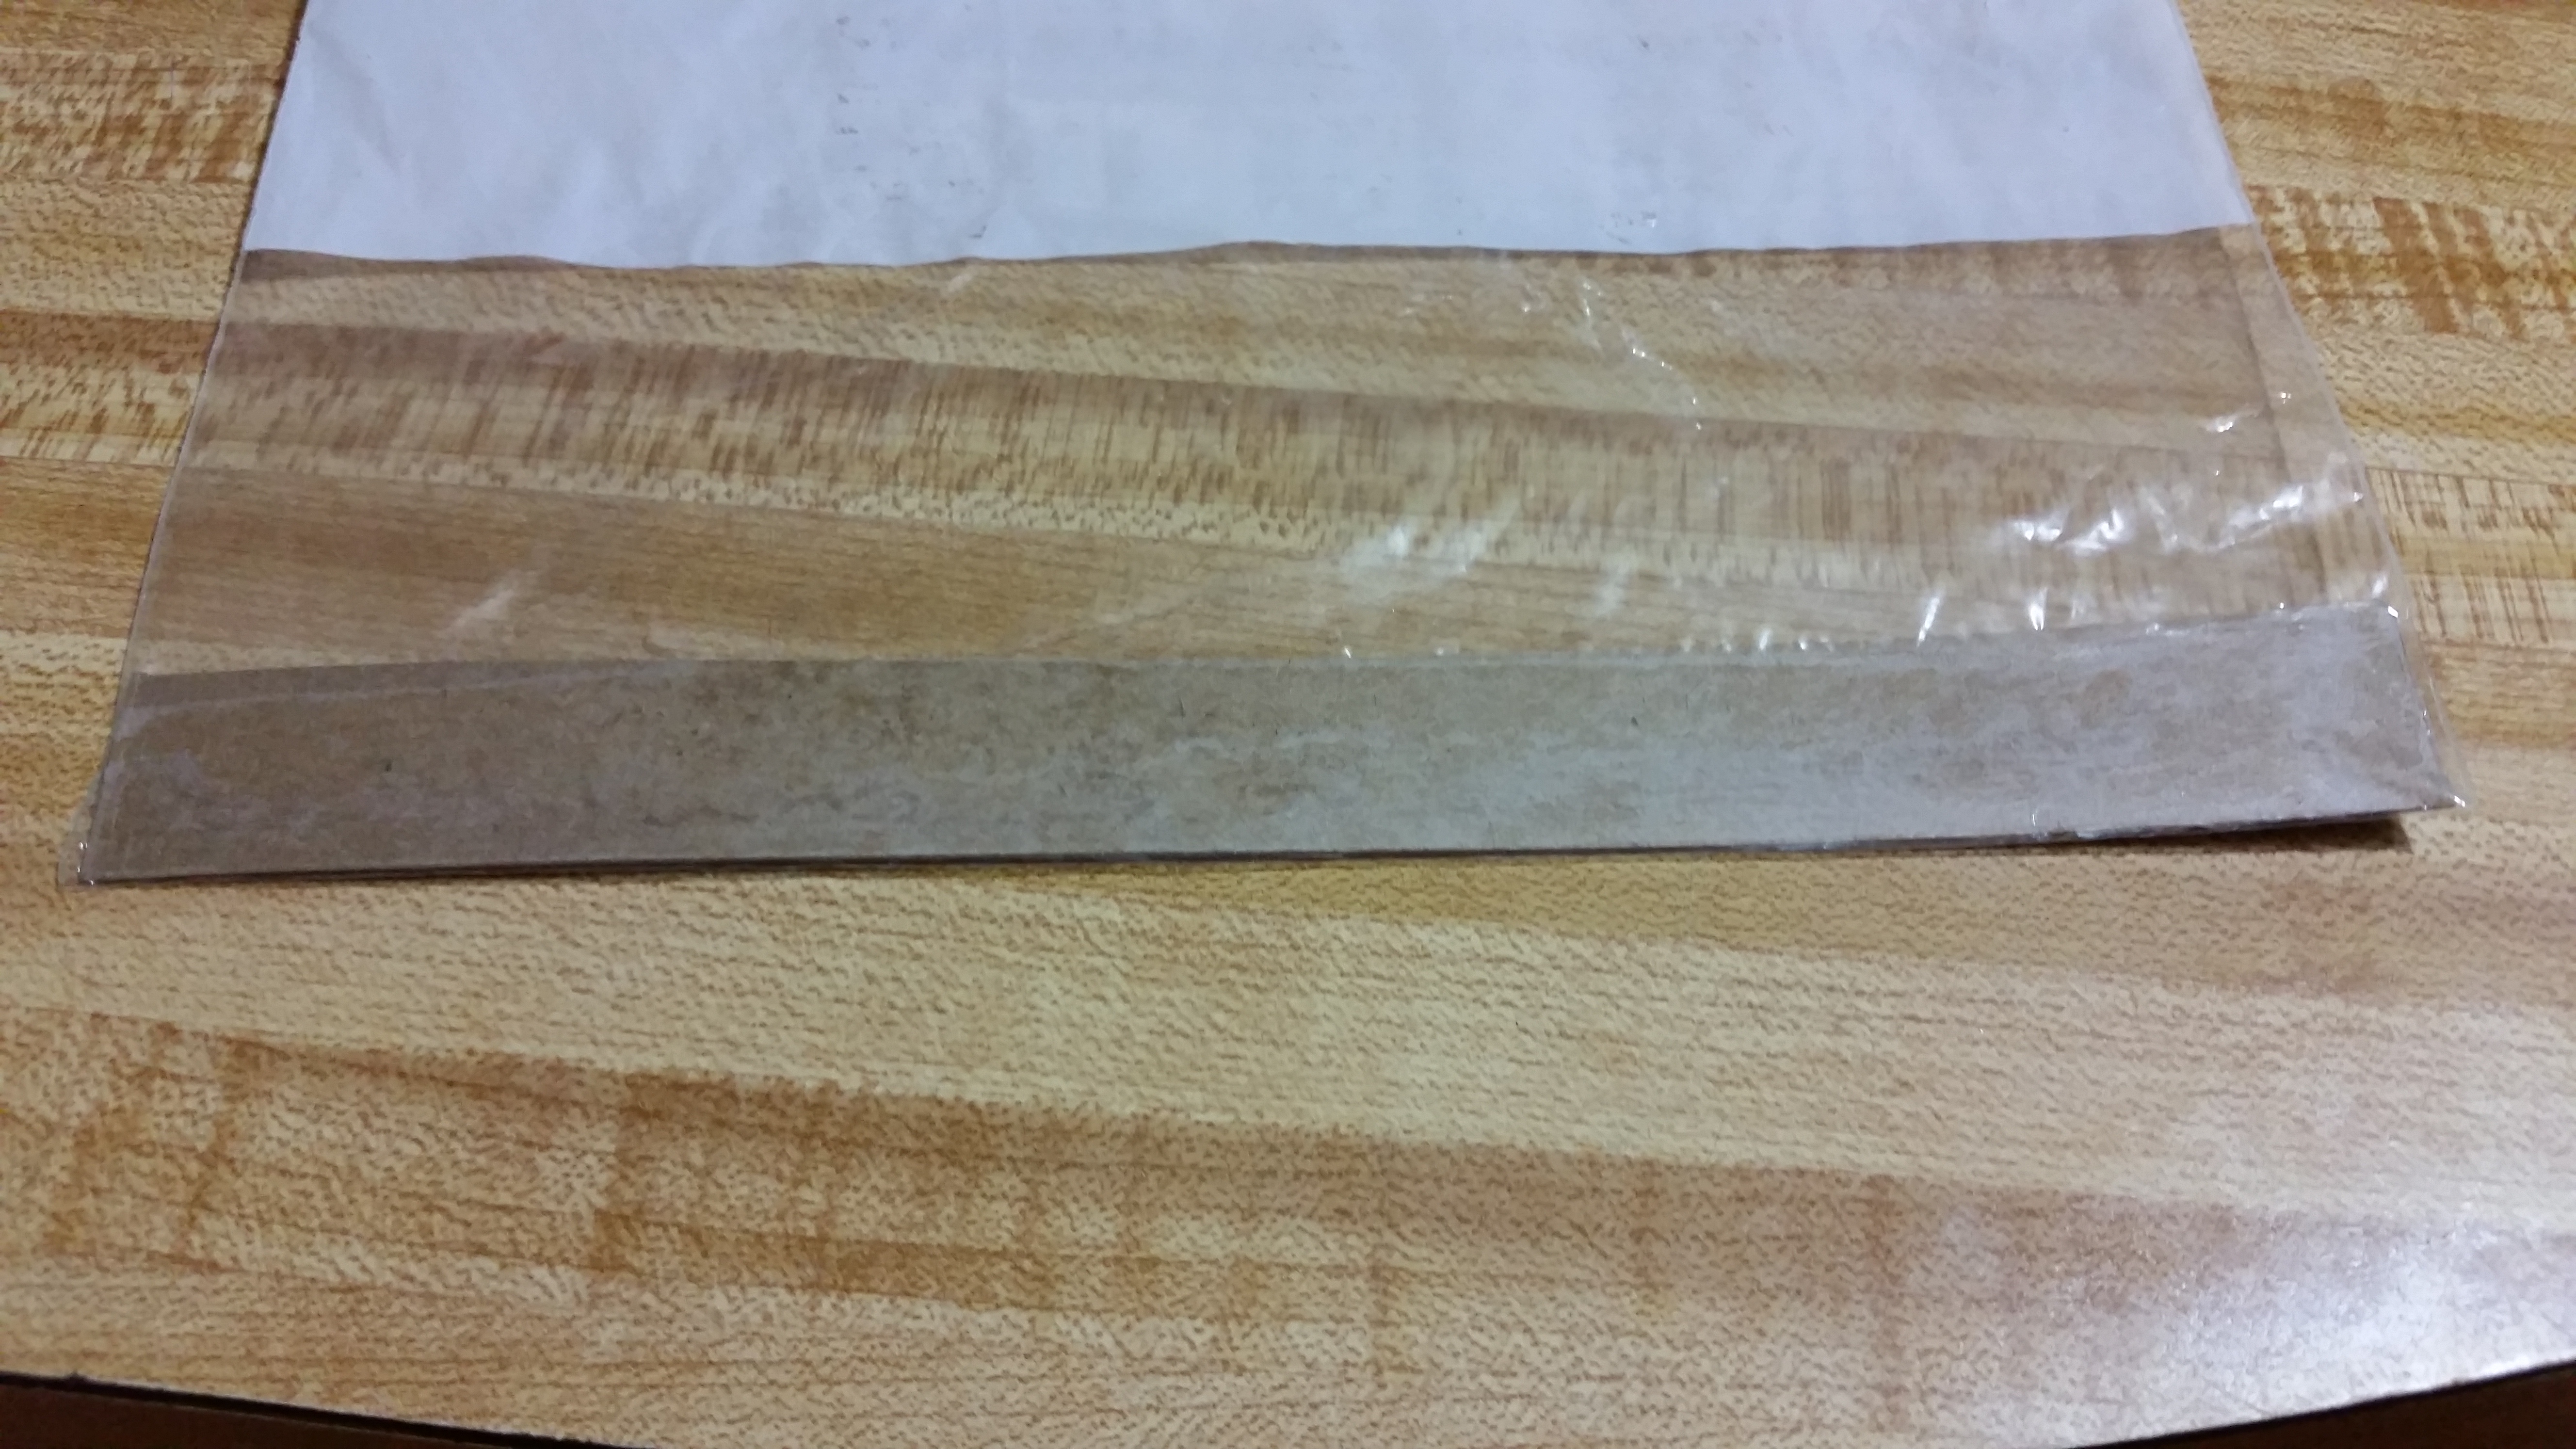
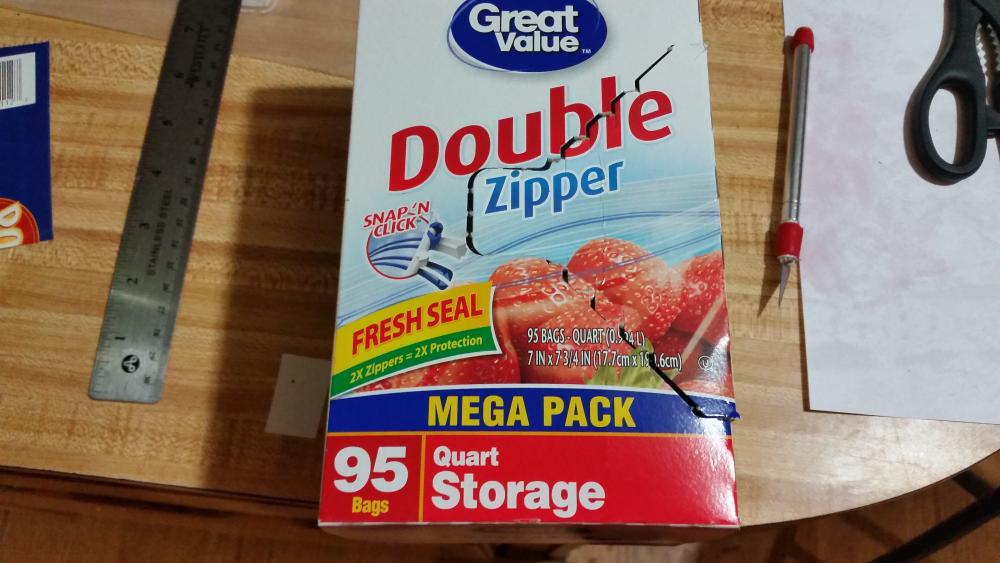
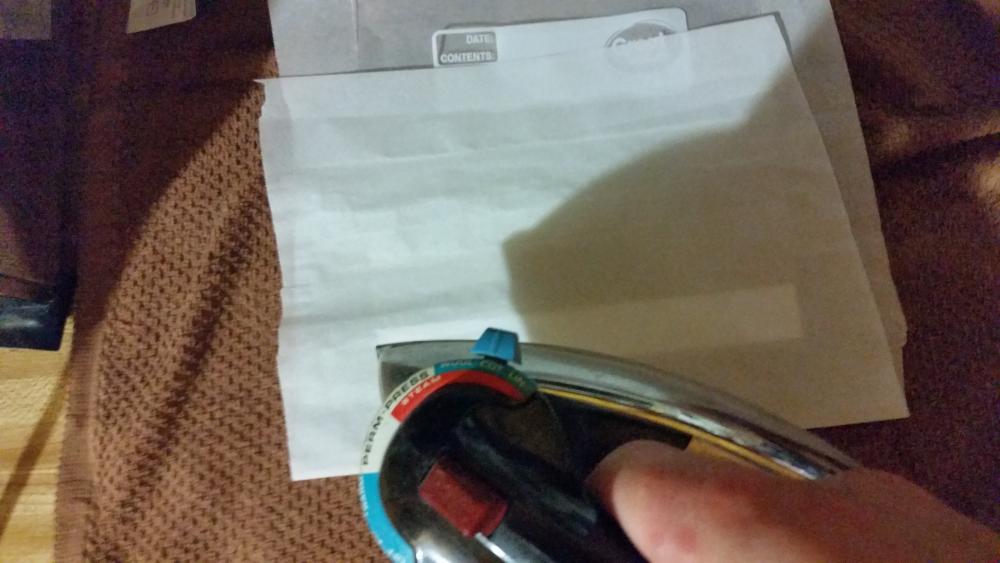
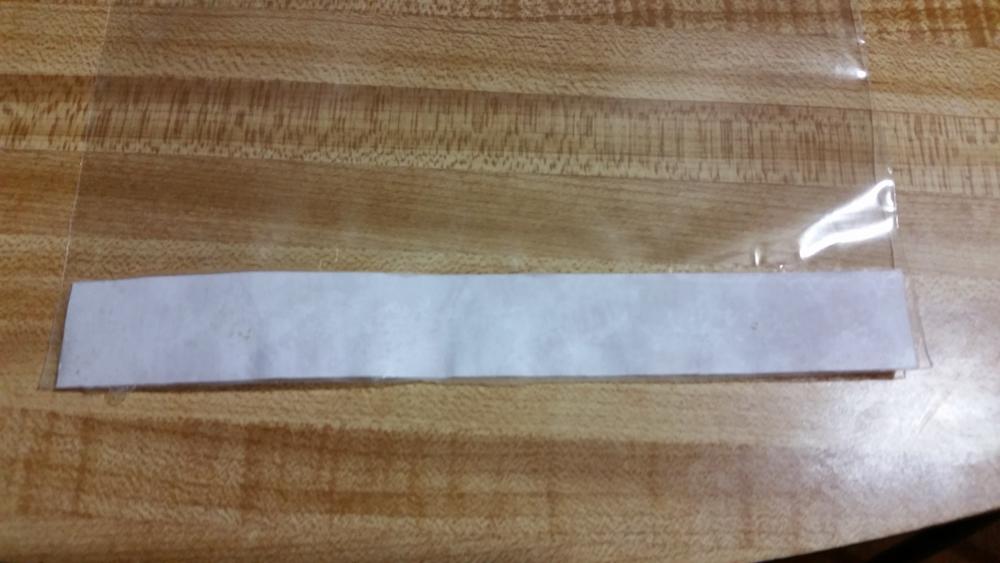
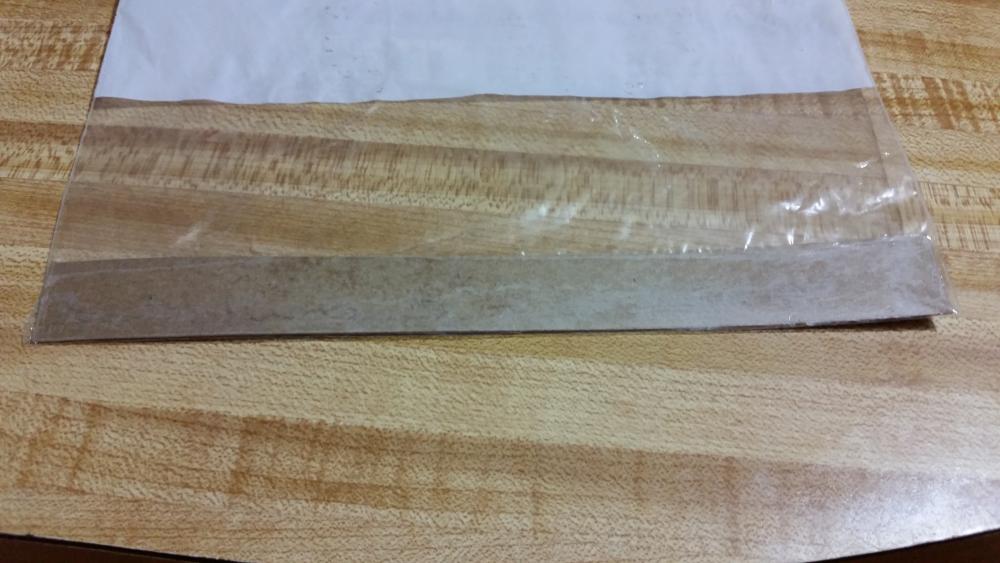
I was looking to make my own worm binder as they are too pricey for me. I looked online to get some ideas for this. I saw where someone suggested to use an iron and tin foil to seal plastic bags, of which I could not get to work. Thus I decided to figure it out on my own. I have some things lying around that will be perfect for doing this. First is an old 3 ring binder. If your pouches are not wide enough, which I doubt they are, simply use only two of the rings for the first page and alternate top and bottom. Next are the ingredients for the pages. They are: zipper bags (size and mil thickness is up to you) some printer paper or cereal box (chipboard?) a clothes iron small towel parchment paper something to cut the paper. I started by laying out the towel to protect the countertop and turned the iron to the cotton setting. I cut my paper pieces to roughly 3/4" wide and slid the strip to the bottom of the bag. Next I took a piece of parchment paper big enough to sandwich the bag between. You want the part that will be fused to have the parchment on both sides. If using the printer paper, it will be easily seen through the parchment paper and this makes staying on track a breeze. After the iron has heated up, use only the tip of it (approx. the first inch) at about a 45 deg angle and go from one end to the other at a rate of about 3 to 4 seconds. Your time will vary depending on the width of the bag and the thickness (mil) of the plastic. After you have done one side, flip it over and to the other side the same way. I used both walmart brand double zipper and some I got at work which are more durable than the walmart ones. Fusing the bag to the paper really was about the same. I think the key is to keep the iron at a steady pressure and pace and don't stay on the corners too long at all or you will melt the plastic away. I plan on taking the binder and putting some fabric around it with a zipper. I will have to employ my ma-in-law to see if she can sew a zipper for me. Otherwise I will have to learn to be a seamstress...:rolleyes: Another approach would be to take the ringed spine part and place it in some kind of container with a lid. Bags I used. Paper inserted into bag. Position of iron and heat setting. Paper fused into bag. Heavy duty parts bag with chipboard paper fused, same heat setting.

-
This is the soldering iron if anyone is interested: Soldering Iron Pretty much. I like to play around with electronics and such which is why I had the soldering iron. That's really my main hobby. I'm also a very bad amateur wood worker...
-
I will look it up and try it out. Thanks!
-
My wife would probably have me arrested if I used her butter knives...
-
Could be handy if you want a color combo that isn't made.
-
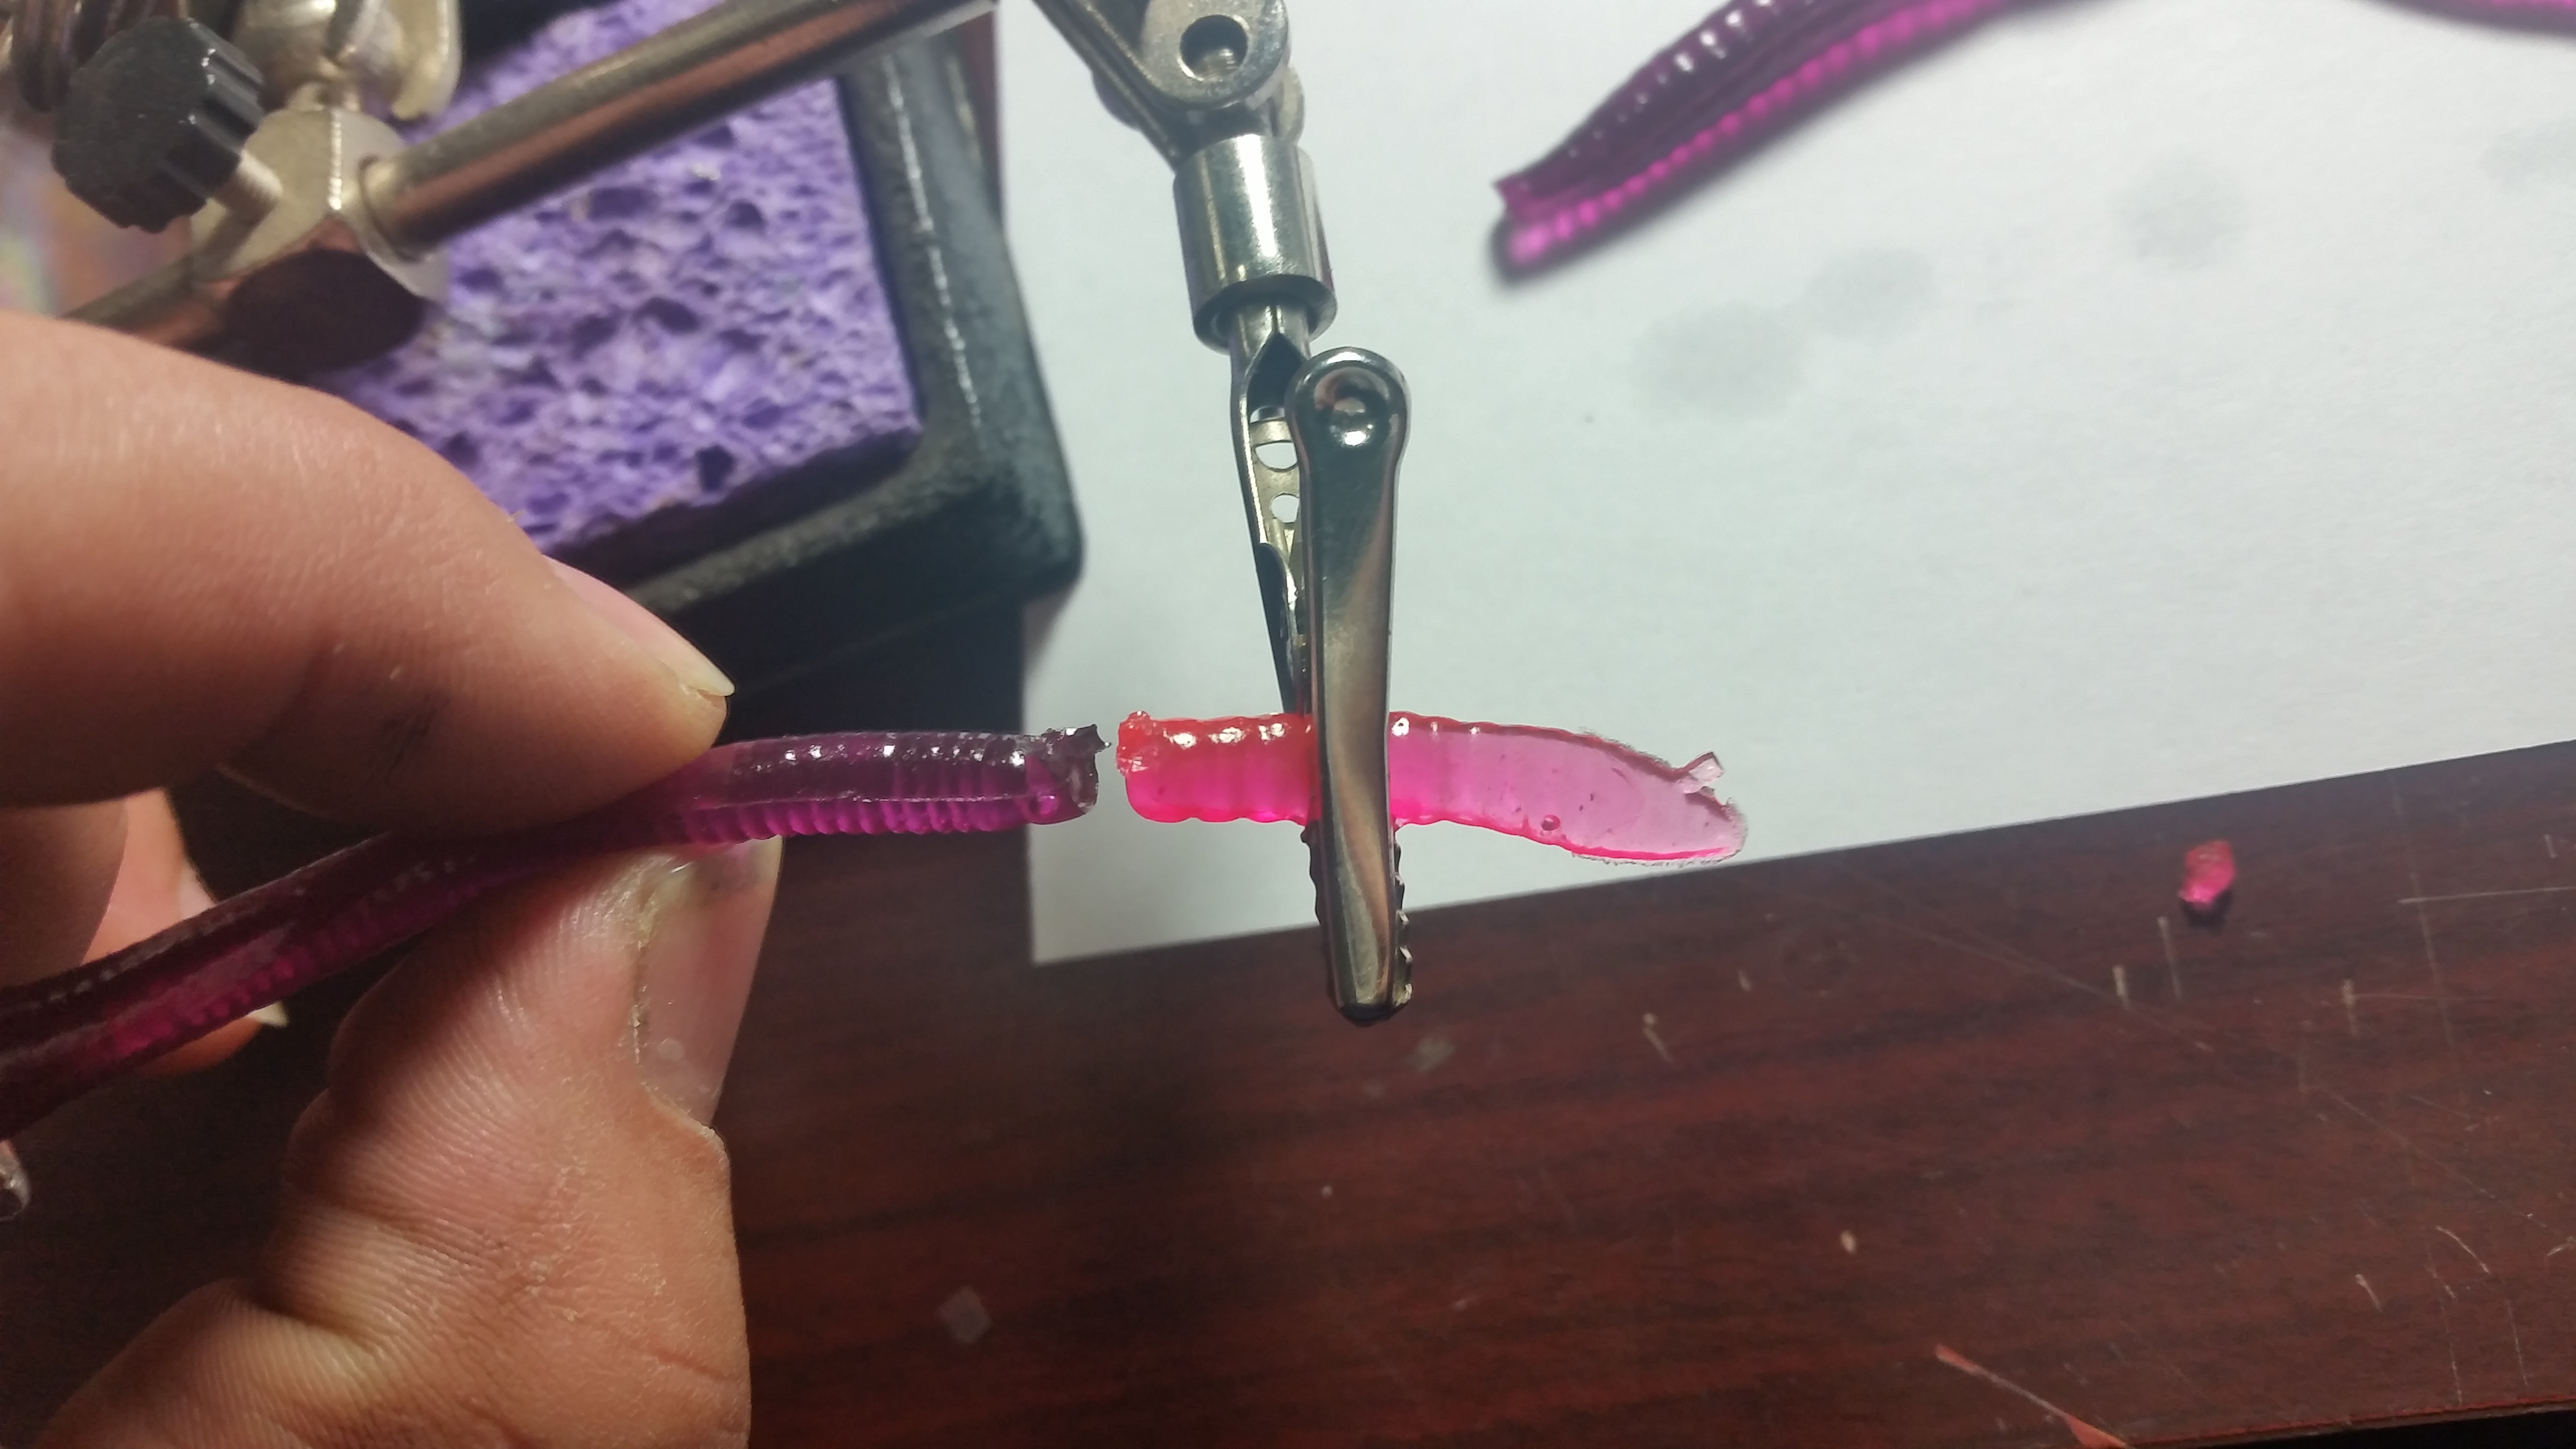
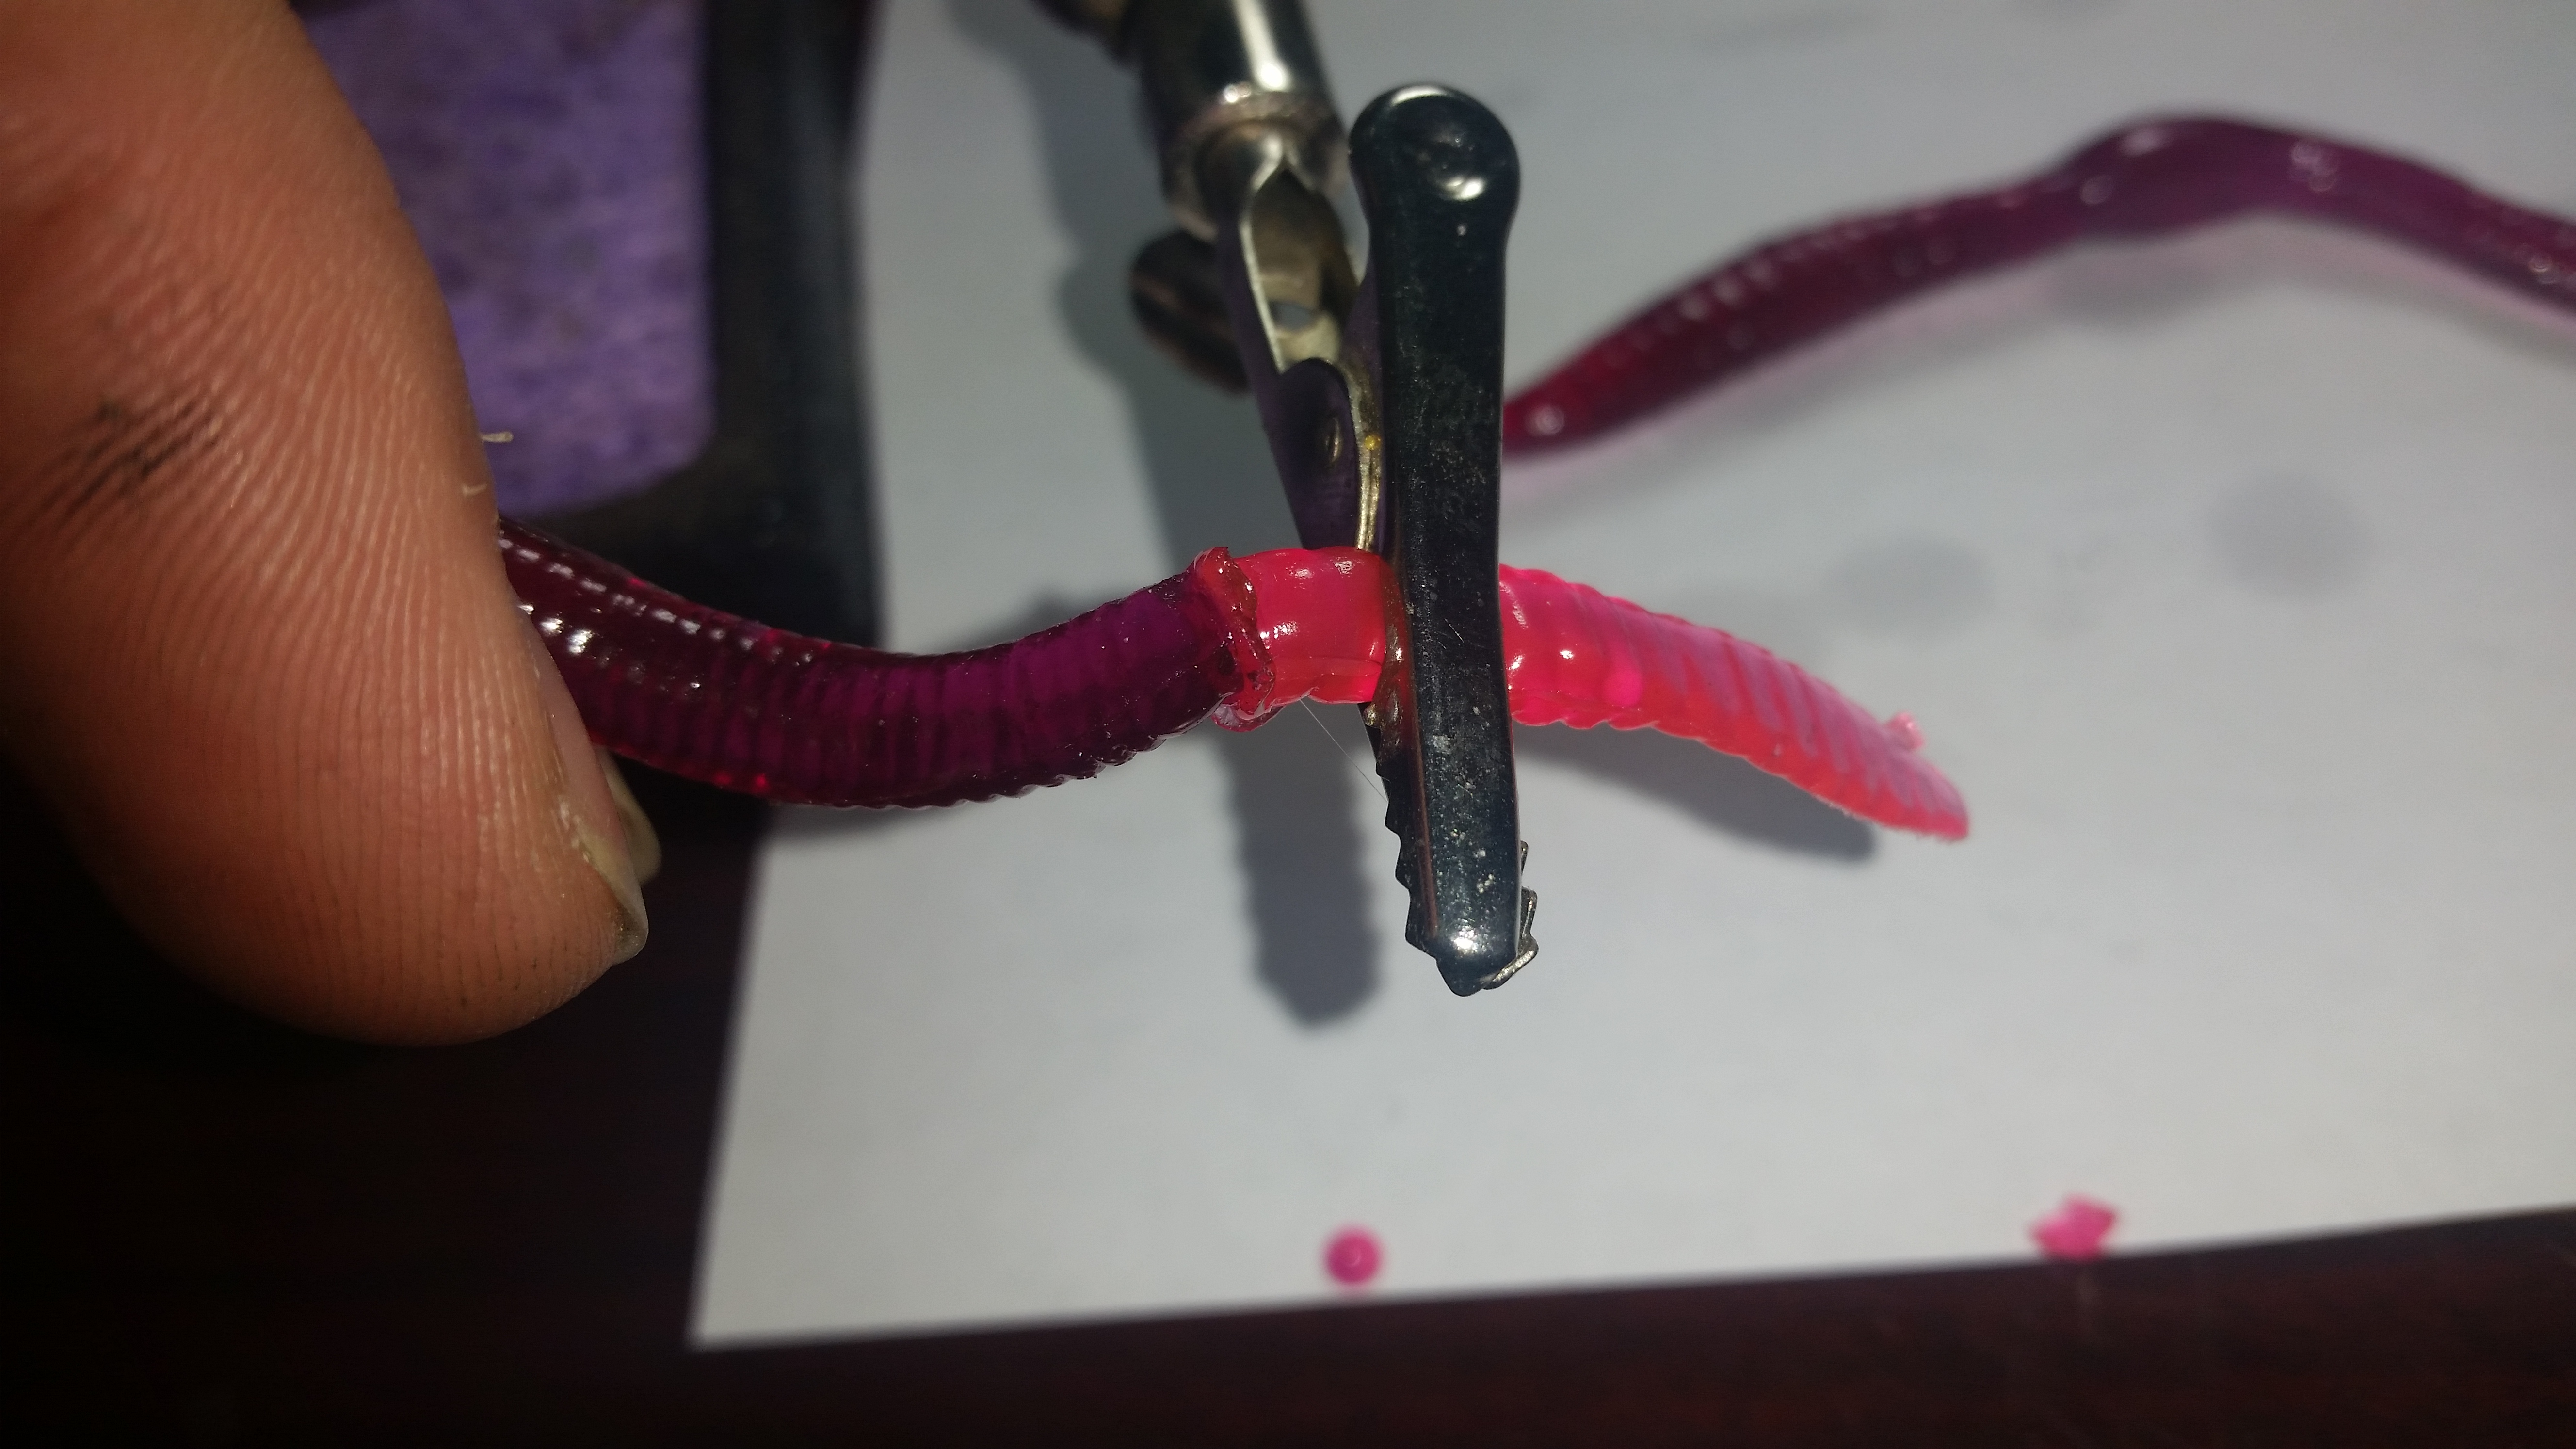
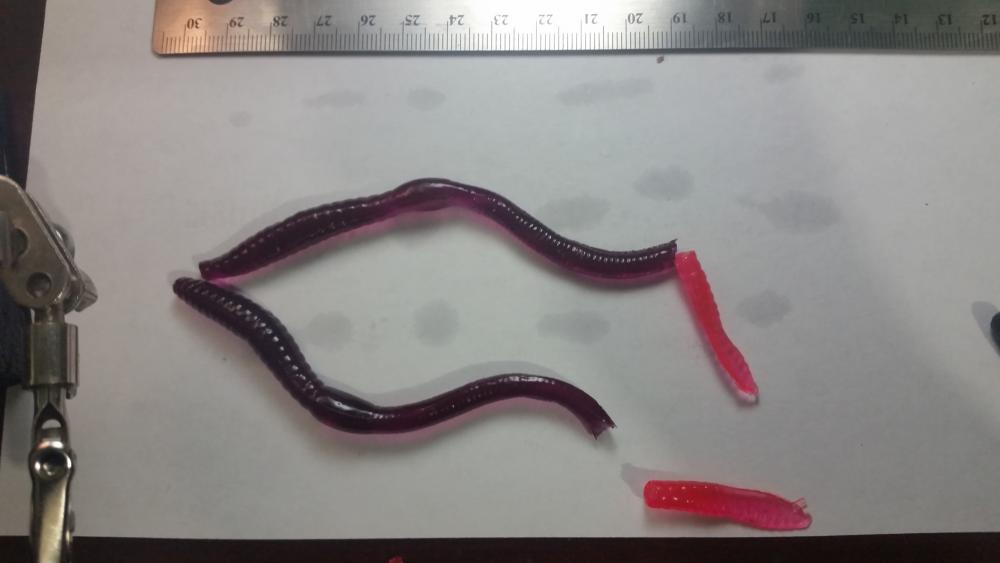
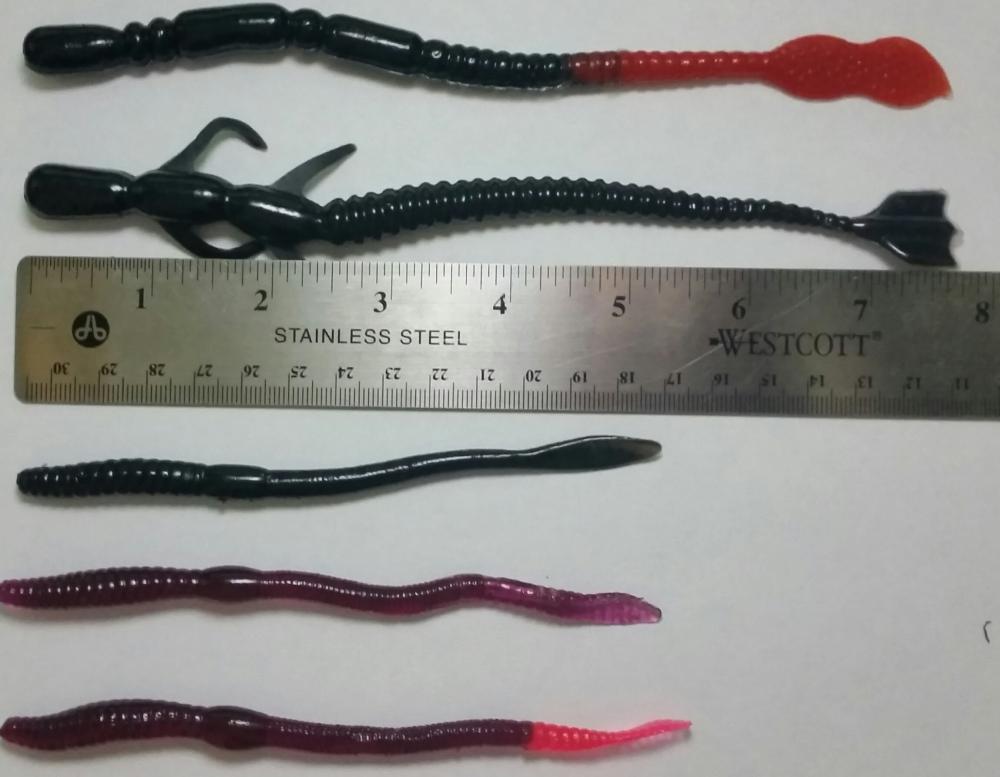
Going through some of my worms I found that some had tails that were broken off or about to come off. Thought I would try to fix them and it worked great. I have a temp controlled soldering iron that goes down to 200C. At the lowest setting, I held the small tail in a clamp and rubbed the tip between the body and tail until both were melting the pressed them together for about 15 seconds. Done. Good as new. Hope this might help someone.


-
Makes sense. I just like organization and things in order so to do this made sense to me. You're probably right about discontinued variants so my efforts could be friutless. Here's one to start.
-
Thanks. Will do! Lots of worms to decipher. I probably have about 75 (well maybe) to ID. I'm reading up on the types and finding out a few. But some I have not seen. Most I have not seen are from the stock that were my grandparents'.
-
I'm looking for a place that can help me ID the types and colors of my worms. I want to label them but don't know what they are called.