
Will Wetline
Members
-
Joined
-
Last visited
Everything posted by Will Wetline
-
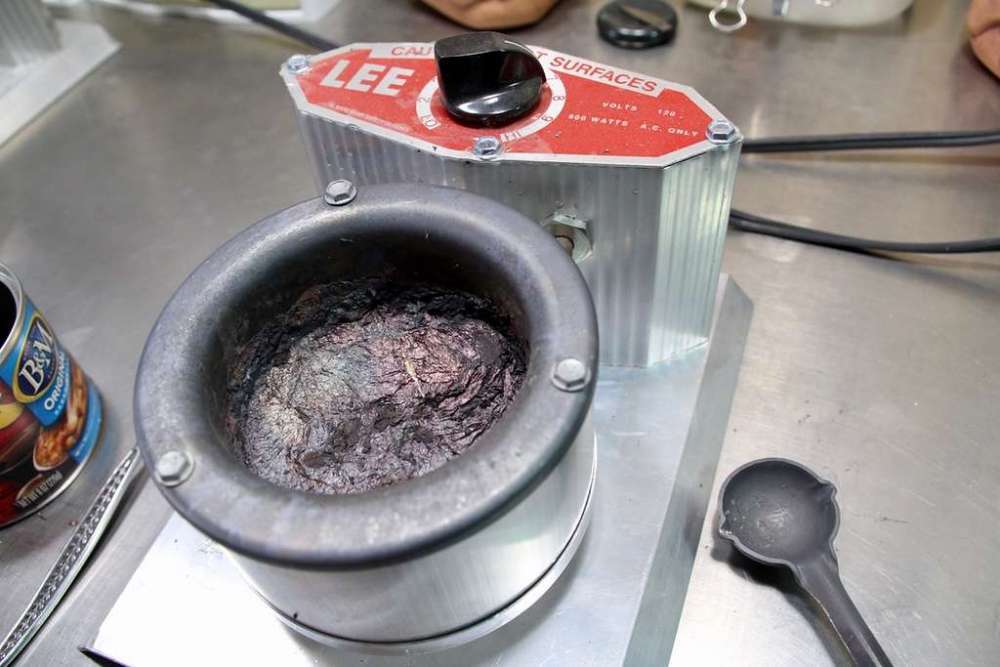
Windy, but not snowing in Greenfield - yet. Pewter ladles just fine. For my first pour, I put a one pound ingot into a clean Lee's bottom pour pot. It came out in drips, not a steady stream. Pewter is only approximately 2/3 the weight as the same volume of lead. Am thinking that I may have gotten better results if I had added several more ingots. I went to plan B instead: I had been thinking about keeping the bottom pour pot for RotoMetal's 88% bismuth/12% tin alloy and decided to buy Lee's small open pot for pewter. With the heat set at 7.5, everything went smoothly after coating the ladle with Drop Out mold release and a bit of practice. (For the 88/12 alloy, set the heat at 3.)
-
Don't mean to be misleading. My hackles aren't up. Sure, I'm unhappy to be writing this post rather than rocking on Quabbin Reservoir, but I'm not angry. The hackles being raised are on a 1/4 oz. pewter football jig. With the chenille body down, the jig is ready for the hackle to be palmered. ( 'Round and 'round the shank it goes . . . ) Then the wire is wrapped for both reinforcement and additional color. And there you have it! Now into my new, roomier test tank, a genuine Rubbermaid, not a no-name cookie tub. In your mind's eye, see the hackles pulsing, swaying, twitching . . . Yum!
-
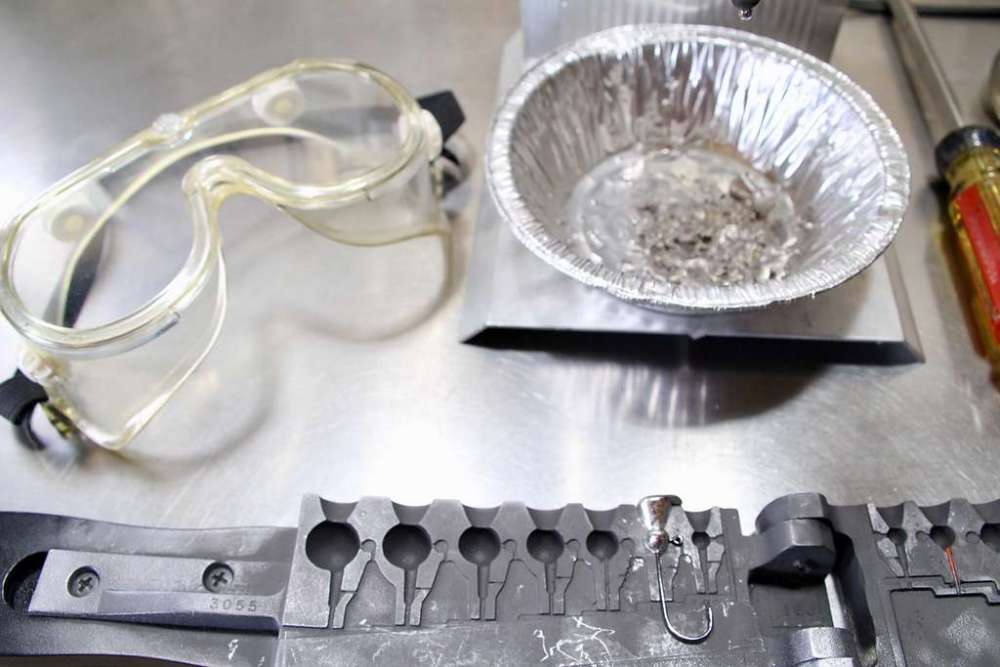
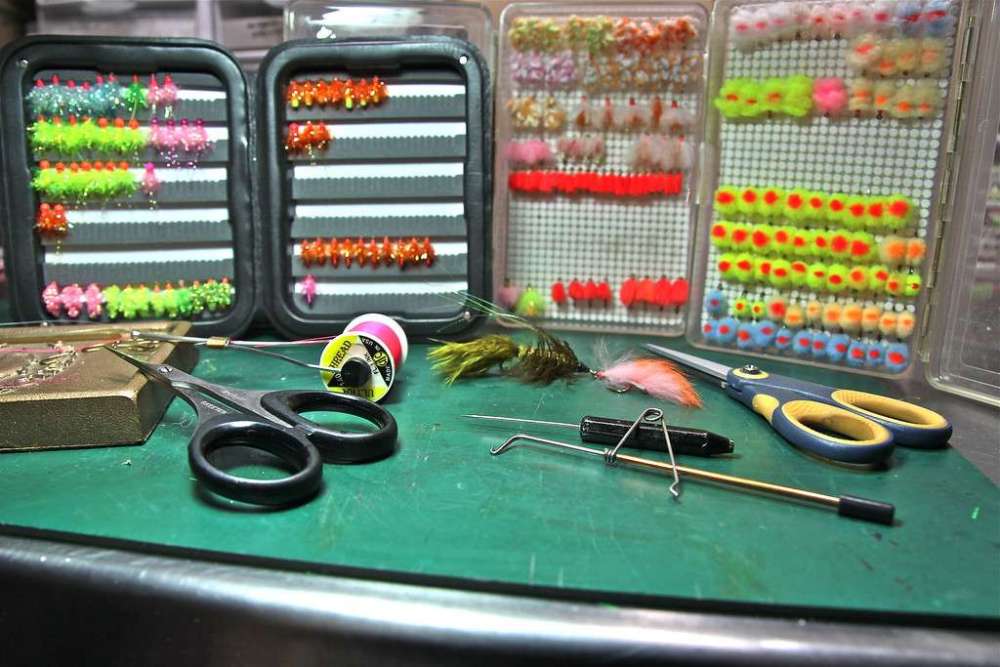
Let's start with the tools on the bench. You've seen most of them in previous posts, but maybe not the hackle pliers for gripping the end of a feather or, in this case, a length of chenille. Then there's a bobbin threader just below the ruler and, upper right, a very fine-toothed comb usually used for removing say, the underfur against bear hide, but for this project used to tug at the twisted tinsel of the palmered polar chenille. If you start below the head and wrap down to just behind the hook point then spiral up and then down again, you'll have a good thread base. I'm using UTC 210 denier but Danville's 210 and UNI-thread 3/0 would be fine too. I plucked these feathers from a Metz #1 saddle - not cheap nor easy to find. You can certainly use "Strung Rooster Saddles Long" from Barlow's. A 2 1/4" length gets tied in. This length was determined using TLAR design principles. (Huh? I'll do a separate post about TLAR in the future.) The left side of the left hackle is set up correctly. You want hackle immediately below the visible tail feathers because they help to hold the position of the tail as you wrap up the hook shank. My obsessive/compulsive inner voices said, "Psst . . . better put a coat of Hard As Nails over those thread wraps!" I know better than to argue with them. You do as you like. I used a 4 1/2" length of copper/black New Age Chenille, large, for the body and a 4" length of Hareline Dubbin's UV Polar Chenille, Rusty Copper, which is palmered around it. ("Palmered?" The origin story of this term is fascinating but I won't go into it now because I want to avoid strange syntax, run-on sentences and off-topic yadayada at all costs!) Tie in your body chenille to 2/3 up the shank then stop. From this point, tie in the polar chenille. From the hackle, wrap the body, jump over the polar and secure at the head. Now wrap the polar chenille in tight turns and do your best to control it so the tinsel flows toward the tail. Hoo! It's looking bright and buggy now! There's one more wrap to be made then a couple of half hitches (with a whip finishing tool or hand-whip, your choice), then cement the threads to finish. Looks big smallie sized to me. Here I'm tank testing the hydrodynamics. Hmmph! More simply said, I dunked it in a plastic tub to see what waves and wiggles. It appears that on a drag-pause-twitch retrieve the tail feathers will stay spread and flutter and the tinsel will tremble. Come and get it, smallies!
-
Everything smalljaw does is great. When I first started making spinnerbaits some years ago I had the same problem with losing blades. Try the bends below: You'll need round nose and linemans pliers. Tweak the bottom of the loop to the side like so. Very carefully - watch that fine wire split ring! - "overclose" the loop using the linemans pliers. Now grasp the the lower part of the loop and bend it back so it aligns with the wire above.
-
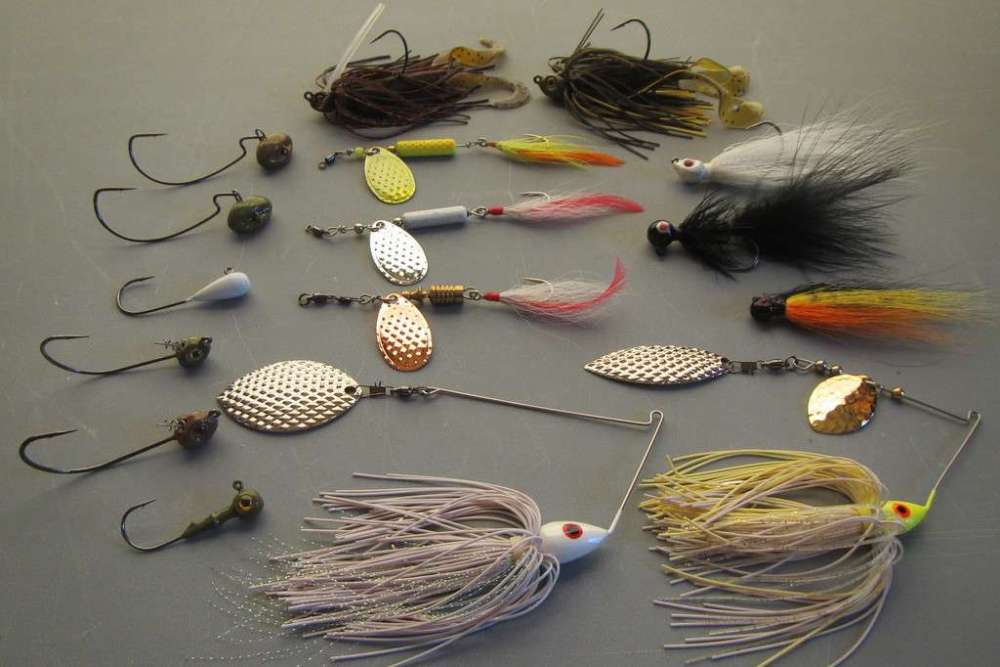
Last year a friend gave me a bucktail he had salted and stuffed into a Ziploc bag. I put it into my freezer and hoped it would smell better when I took it out. It did last week when it was used to make a jig for the friend for his birthday. For a while I had been thinking about tying a few feathers on the aft end of a bucktail jig. (Bass fisherman: think "preacher jig;" trout fisherman: think Lefty Kreh's Deceiver.) Let's look at the components of such a creation: Beside the buck's tail, we've got modified-for-extra-shank-length Poison Tail jigheads, two types of flash material and, at top, a calf tail (kiptail) which had been laying quietly in a box for the past twenty years. Here's the hackle which is plucked off a string of them sewn together. Abracadabra! They just flew onto the hook! . . . Sorry I didn't take the time to take photos of each step involved. And now that it appears that Quabbin Reservoir is opening for boating May 9th, I've got to spool fresh line, rearrange 3700s, etc. & etc. Maybe in the doldrums of summer I'll turn on the a/c in the tackle room and do a post about wrangling bucktail onto a jighead. For now, a few more pics of this jig: A good hair and hackle day? The Wet Look Here's lookin' at ya, big mama smallie!
-
Wowza!
-
In the words of Mr. Ned Kehde:
-
1/4 oz. Poison Tails are a favorite to drag, pause and twitch along the bottom for clear water smallmouth when the water is 50º or lower. 1/8 oz. ball jigs in black and in white have produced well also.
-
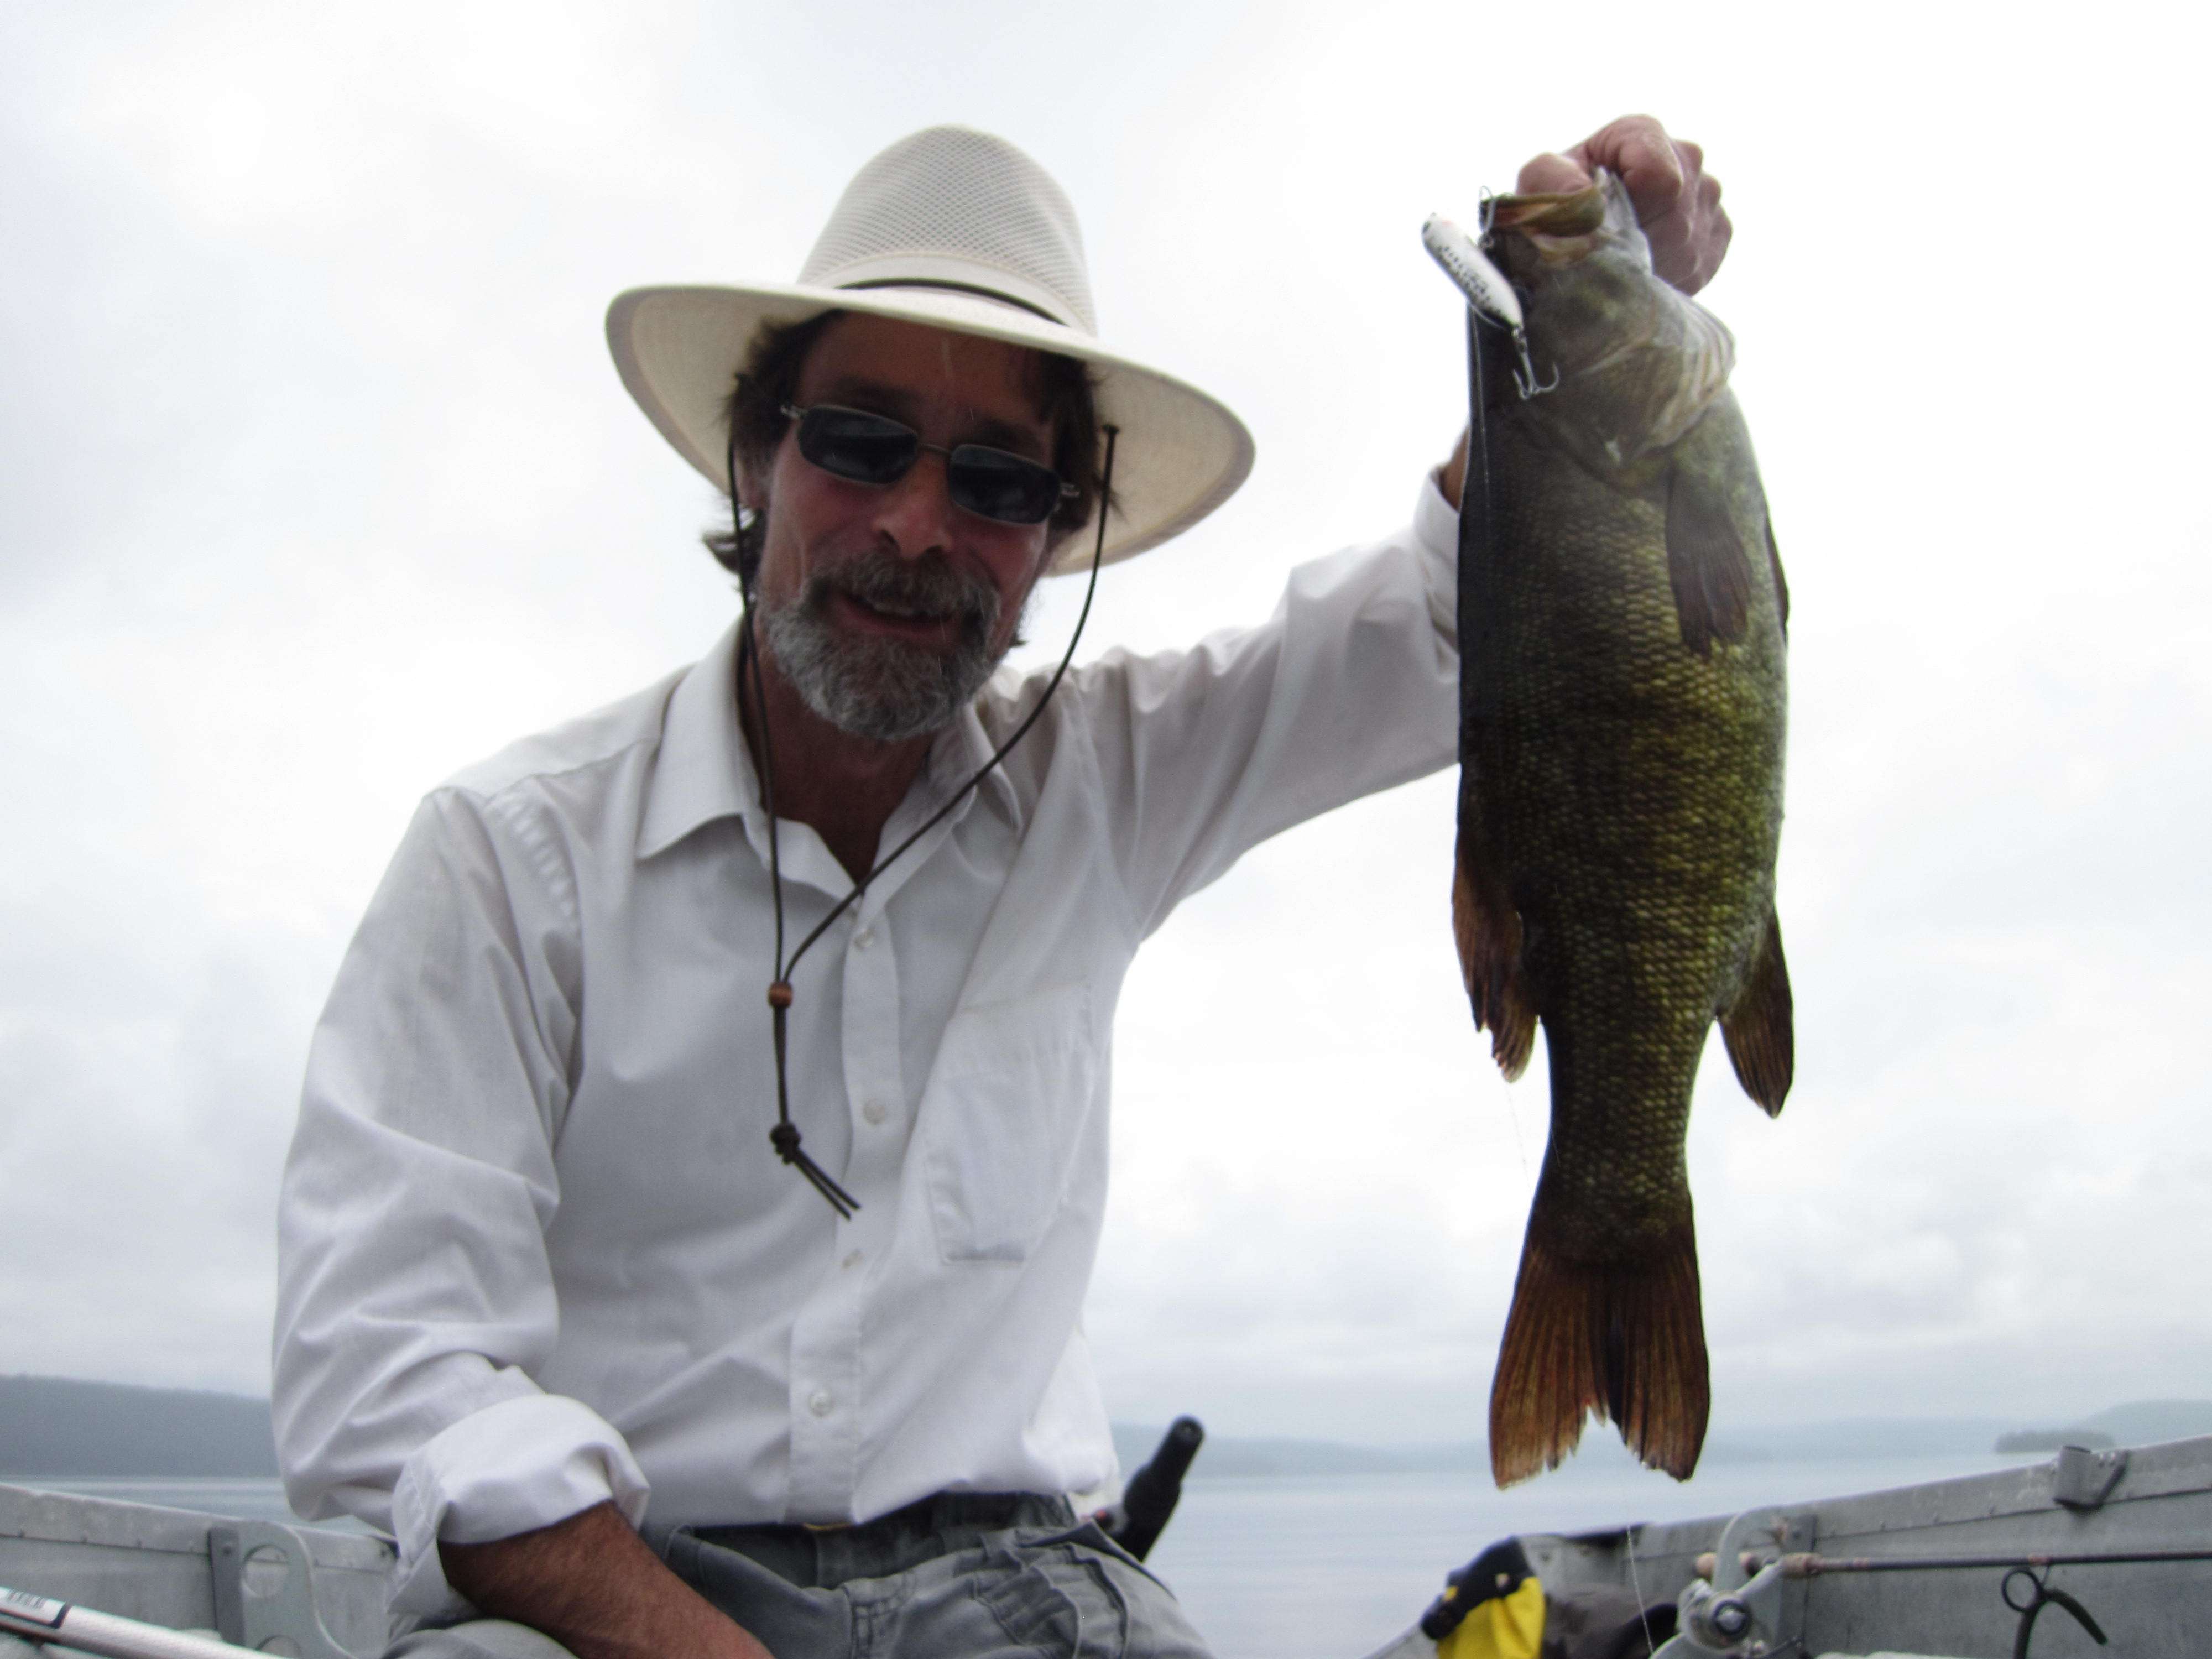
The stock hooks on the Super Spook Jr. you see hanging from this smallie's mouth are cadmium plated. I sharpened each point before using.

-
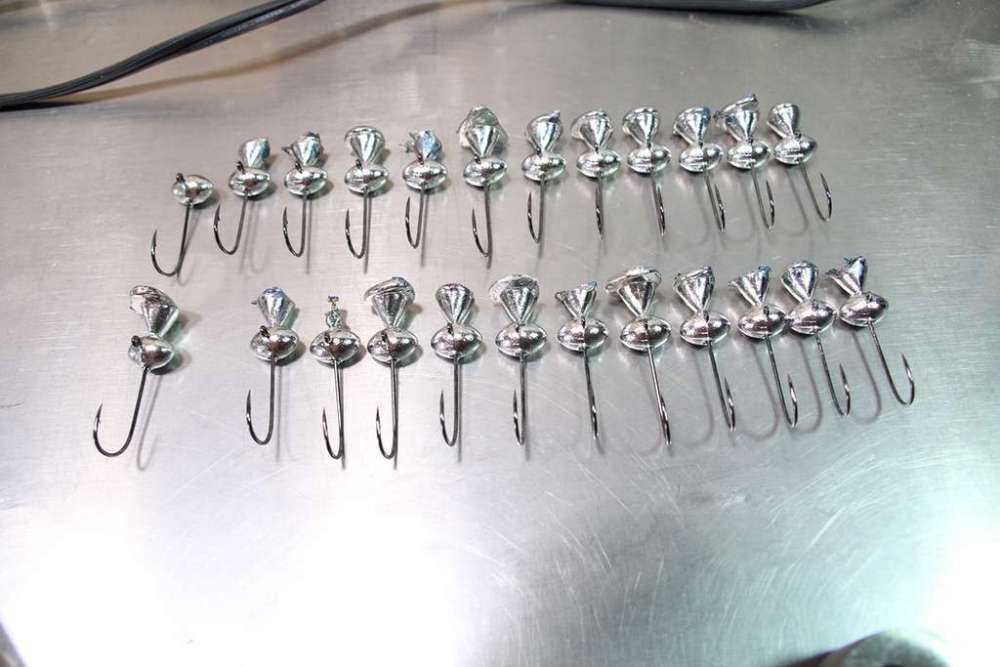
The aim of this project was to eliminate the cone at the end of the collar to free up space on the hook shank for hackle. Also, since I fish these Poison Tails through rocks, mainly, I don't bother with a weedguard . That hole can be filled. Auto Zone carries the silicone. The small cup holds a small amount of dish detergent. Save the fork from your deli lunch. Cut a tine off. Cut a strip from a plastic card and shape to fit. This will serve as a dam. Before you use the "dam" tool or the tine tool, dip in the detergent and wipe off excess on a paper towel. You want only a thin film to prevent the tools from sticking to the silicone. After curing for 24 hours the silicone is ready to be trimmed flush. You may only need the single edge razor blades, but it won't hurt to keep a cut down acid brush, fine point tweezers and an X-acto knife handy. Laying the blade as flat as possible, cut the silicone slowly using a sawing motion. The blade dulls quickly. Replace it to avoid frustration and the use of strong language. You must use Drop Out if you're casting an alloy with bismuth in it. For the first pour, I made a couple dozen using 88% bismuth/12% tin. (Set heat dial at 3.) Then I cast the same amount with pewter. (Heat at 7.5.) I'm sure the Drop Out eases the removal of this alloy too. Now you're ready to pour. I do a bit of filing on the top of the head even though the fish won't care. After four dozen pours, the silicone is holding up fine. If you want to go back to the original mold, stick the silicone with a bodkin or other pointed tool and lift. You'll be surprised how easily your mold becomes "unmodified." For any small bits left behind, proceed with tweezers, your X-acto knife and patience.
-
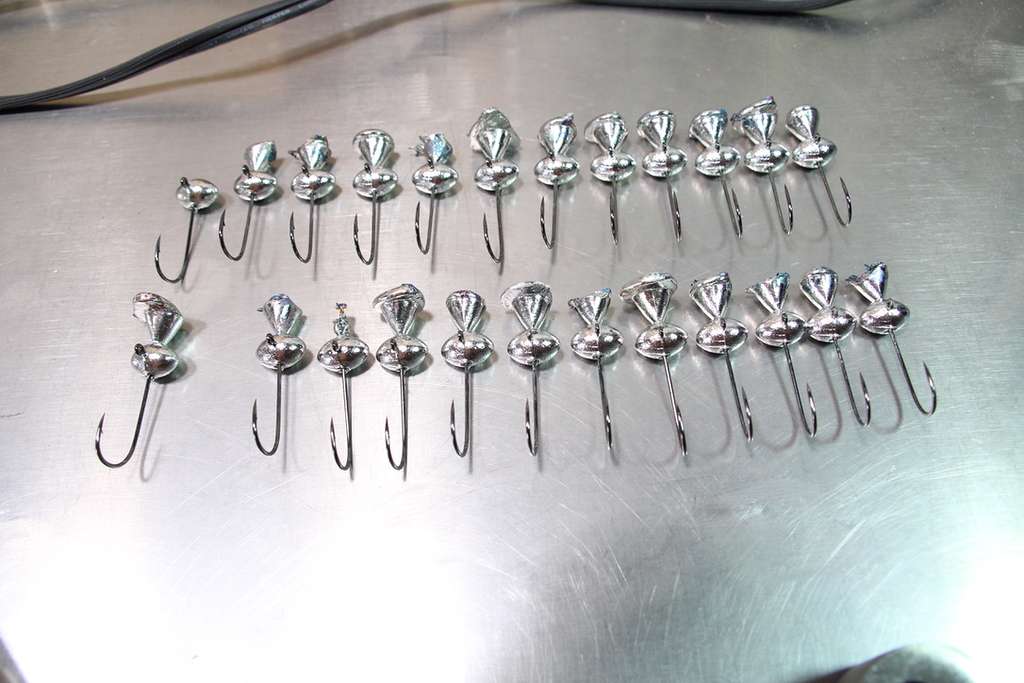
Smalljaw67 discovered that Owner's TwistLOCK Light fits the Poison Tail mold, and that's what I'm using even though it's a whole lot more expensive than the standard Mustad 91768 NP-BN. The Owner is on top and the Mustad below. These poorly painted Poison Tails are 1/8 oz. with 1/0 hooks. I modified the mold with high temp silicone to gain a bit more straight shank length to secure hackle or whatever. In the near future I'll post an article with pics on how to do this mod. 1/4 oz. with 2/0 hooks
-
Last year I switched from Zoom Super Flukes to Z-Man Scented Jerk Shadz because they are far more durable. When retrieved for clear water smallies with a "snap" and a pause, expect it to be slammed a foot under the surface although you should be alert for the occasional fish that will suck it in. Since Z-Man's ElaZtech floats, glue a Zappu tungsten weight into the belly slot.
-
![100 0959a [1024x768]](https://www.bassresource.com/bass-fishing-forums/uploads/gallery/album_71/small.66182d52beac58aac8126141add455d6.jpg.36b4962398ef67c5a3ce3f67ecc931c0.jpg) Big fish!
Big fish! -
islandbass, the jigs you tied look good in every aspect. Dealing with people suffering from dementia/Alzheimer's can be very challenging; I wish you great patience.
-
The main reason I sold my Hot Pot was because of the crummy, small trivet that came with it. I would look for small iron trivets elsewhere - housewares departments, dollar stores, yard sales - rather than replace the one that came with Palmer's Pot.
-
Good job figuring them out, Paul.
-
Great report and pics. Thanks!
-
Go with TJ's. The fluid bed works fine and the instructions with it are very helpful getting started. https://www.tjstackle.com/
-
-
https://photos.smugmug.com/2019-Salmon-River-Steelhead-Trip/i-9fBrrnQ/0/77121e4e/X2/The Dead Drifters-X2.jpg
-
No sir, I was not. I do thank you for your service.
-
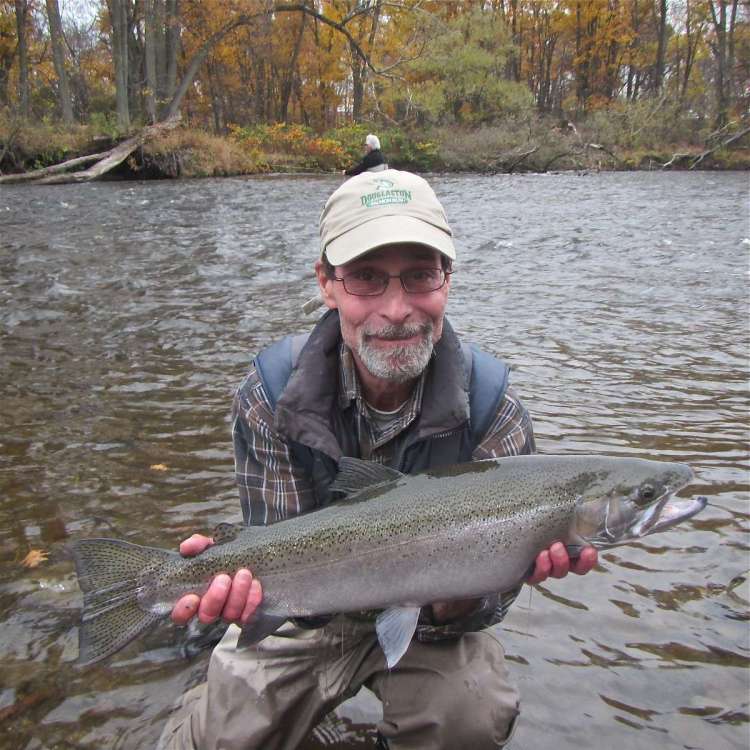
Here's a steelhead of about 9 lbs. caught during my annual trip to New York's Salmon River:
-
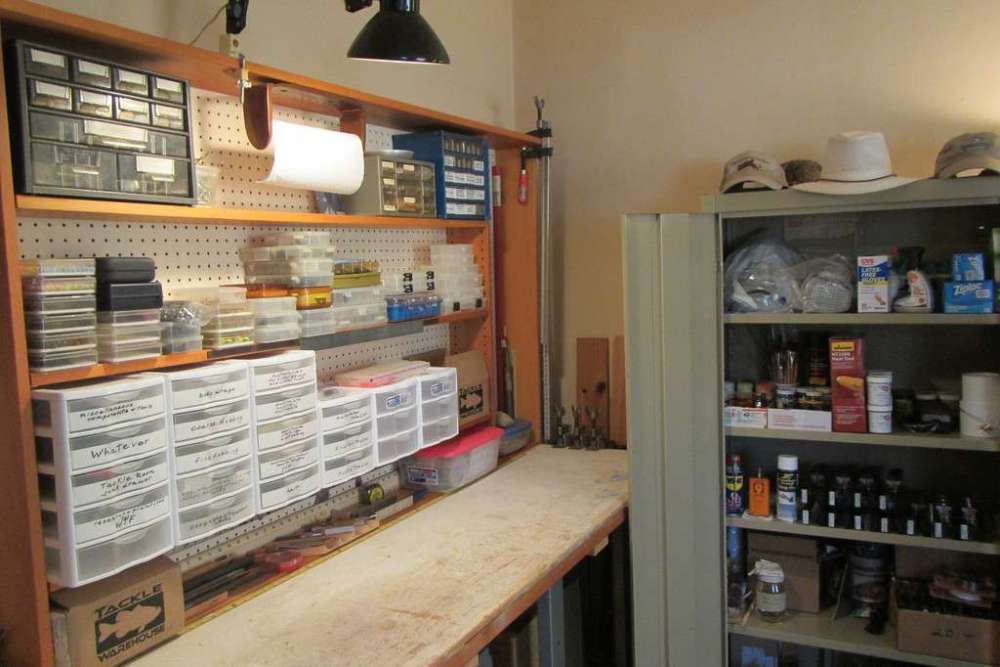
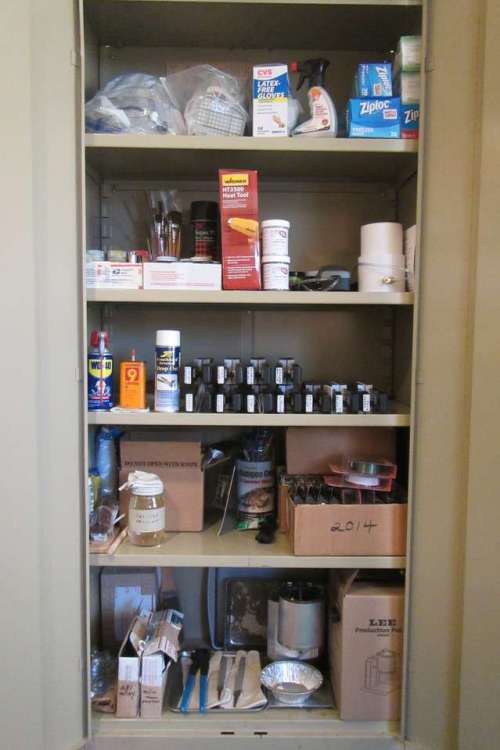
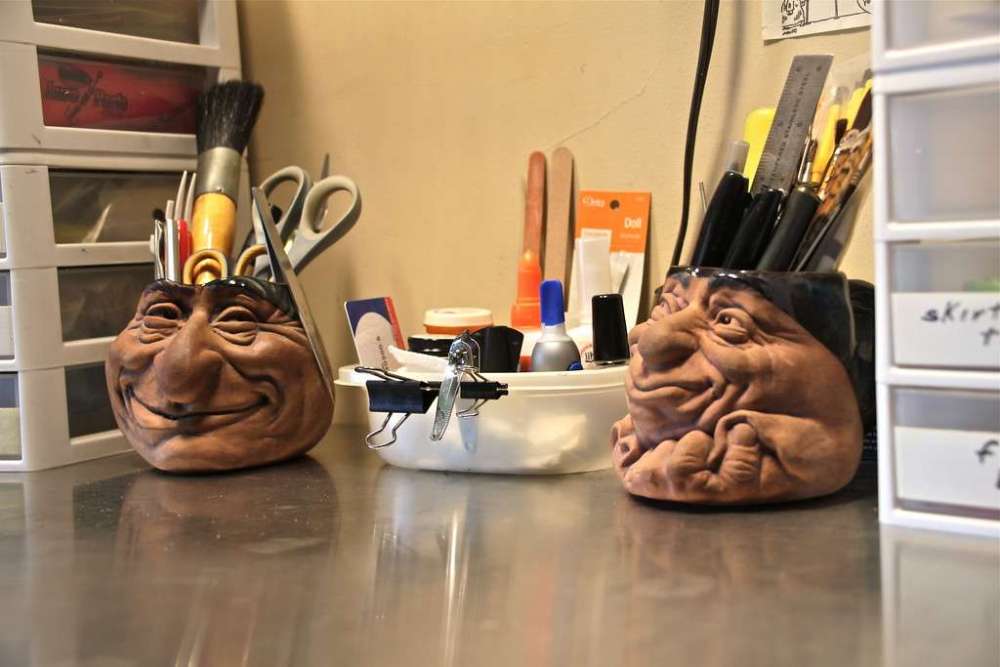
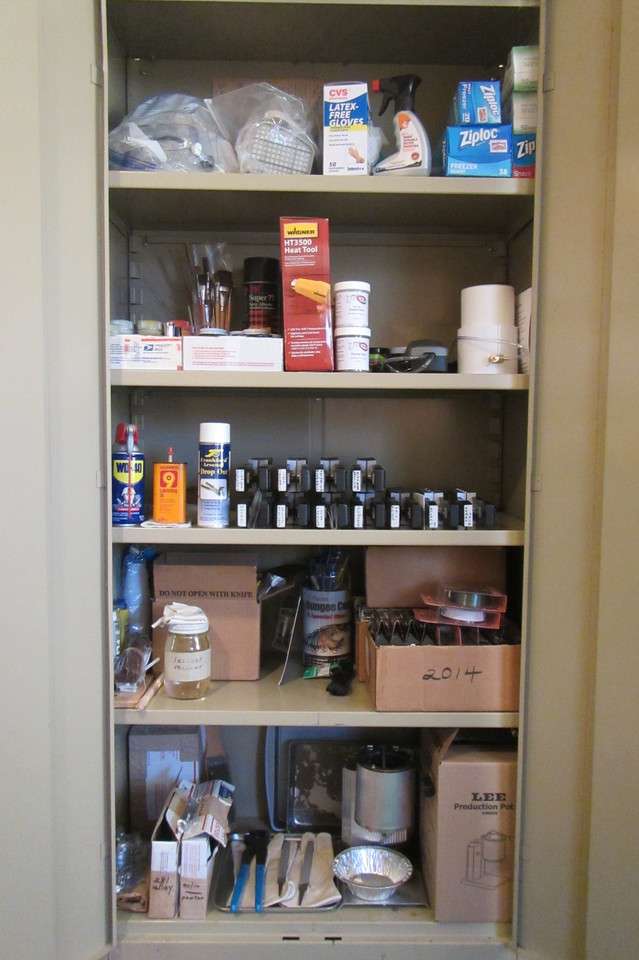
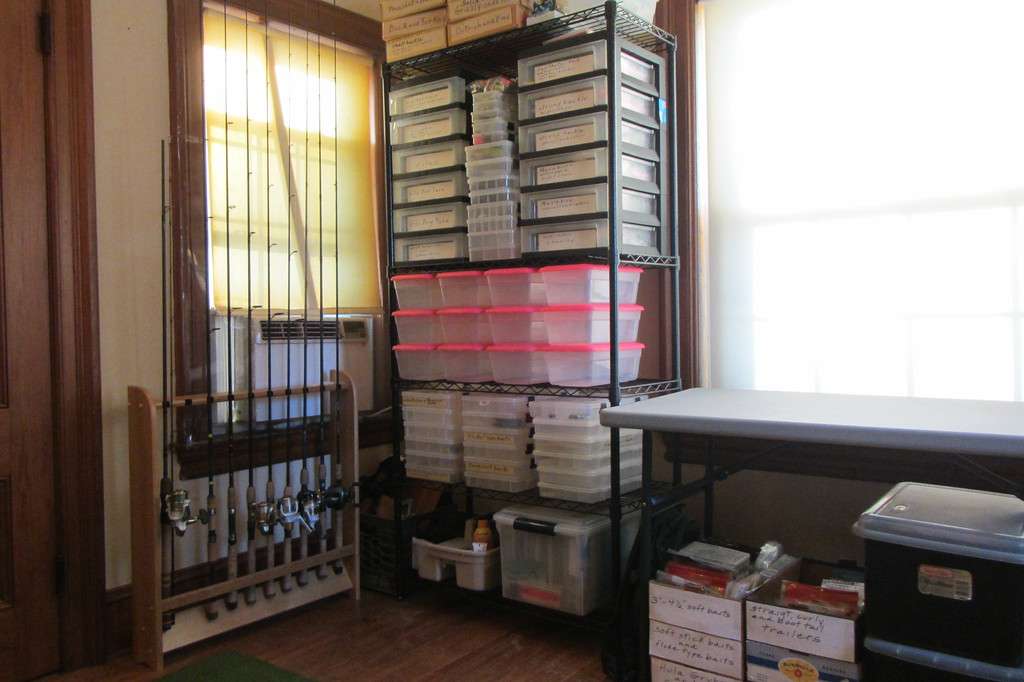
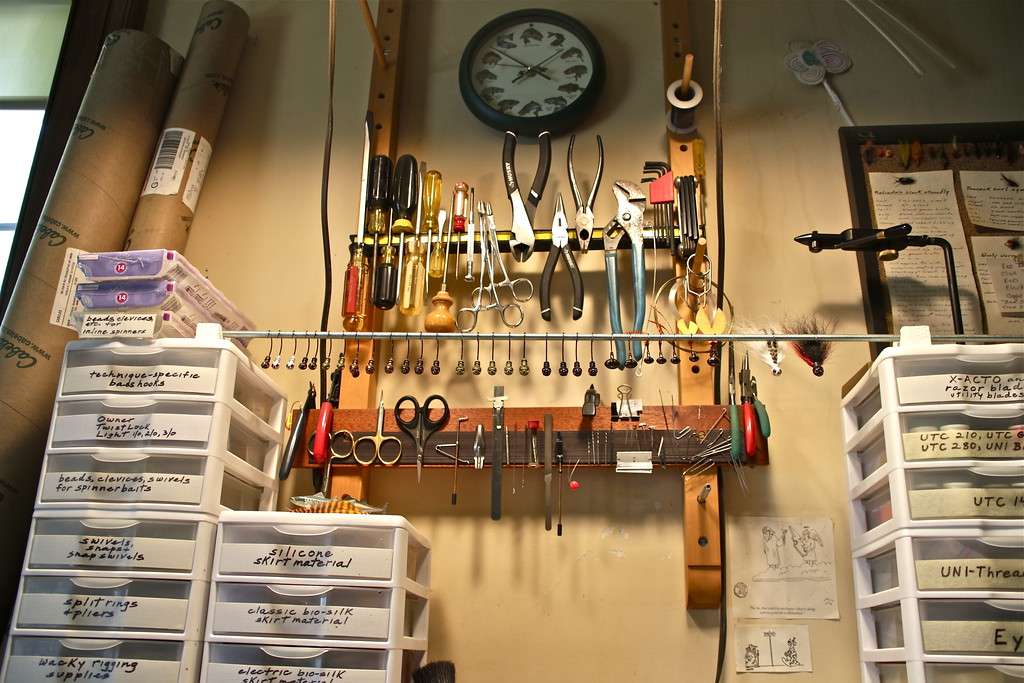
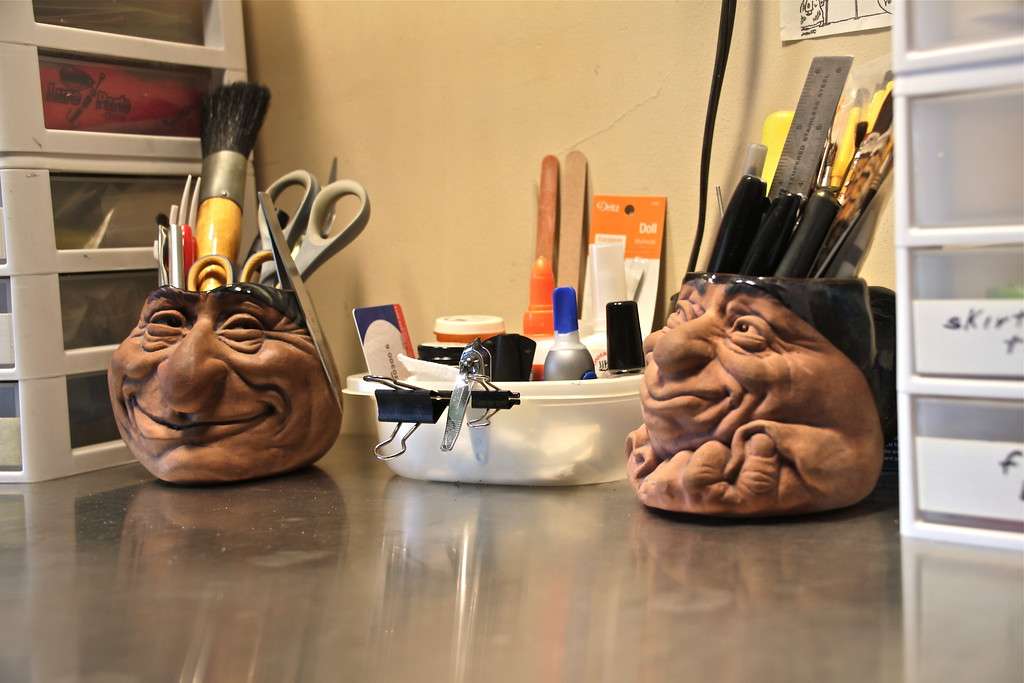
Ryan, In 2016 I did a major cleanup in my apartment's tackle room and put together what you see in the photos below. There's been a change to uploading pics to BR - and it's a real rigamarole to do so - but I'll submit this reply and we'll see how it comes out.


-


Important Information
We have placed cookies on your device to help make this website better. You can adjust your cookie settings, otherwise we'll assume you're okay to continue.